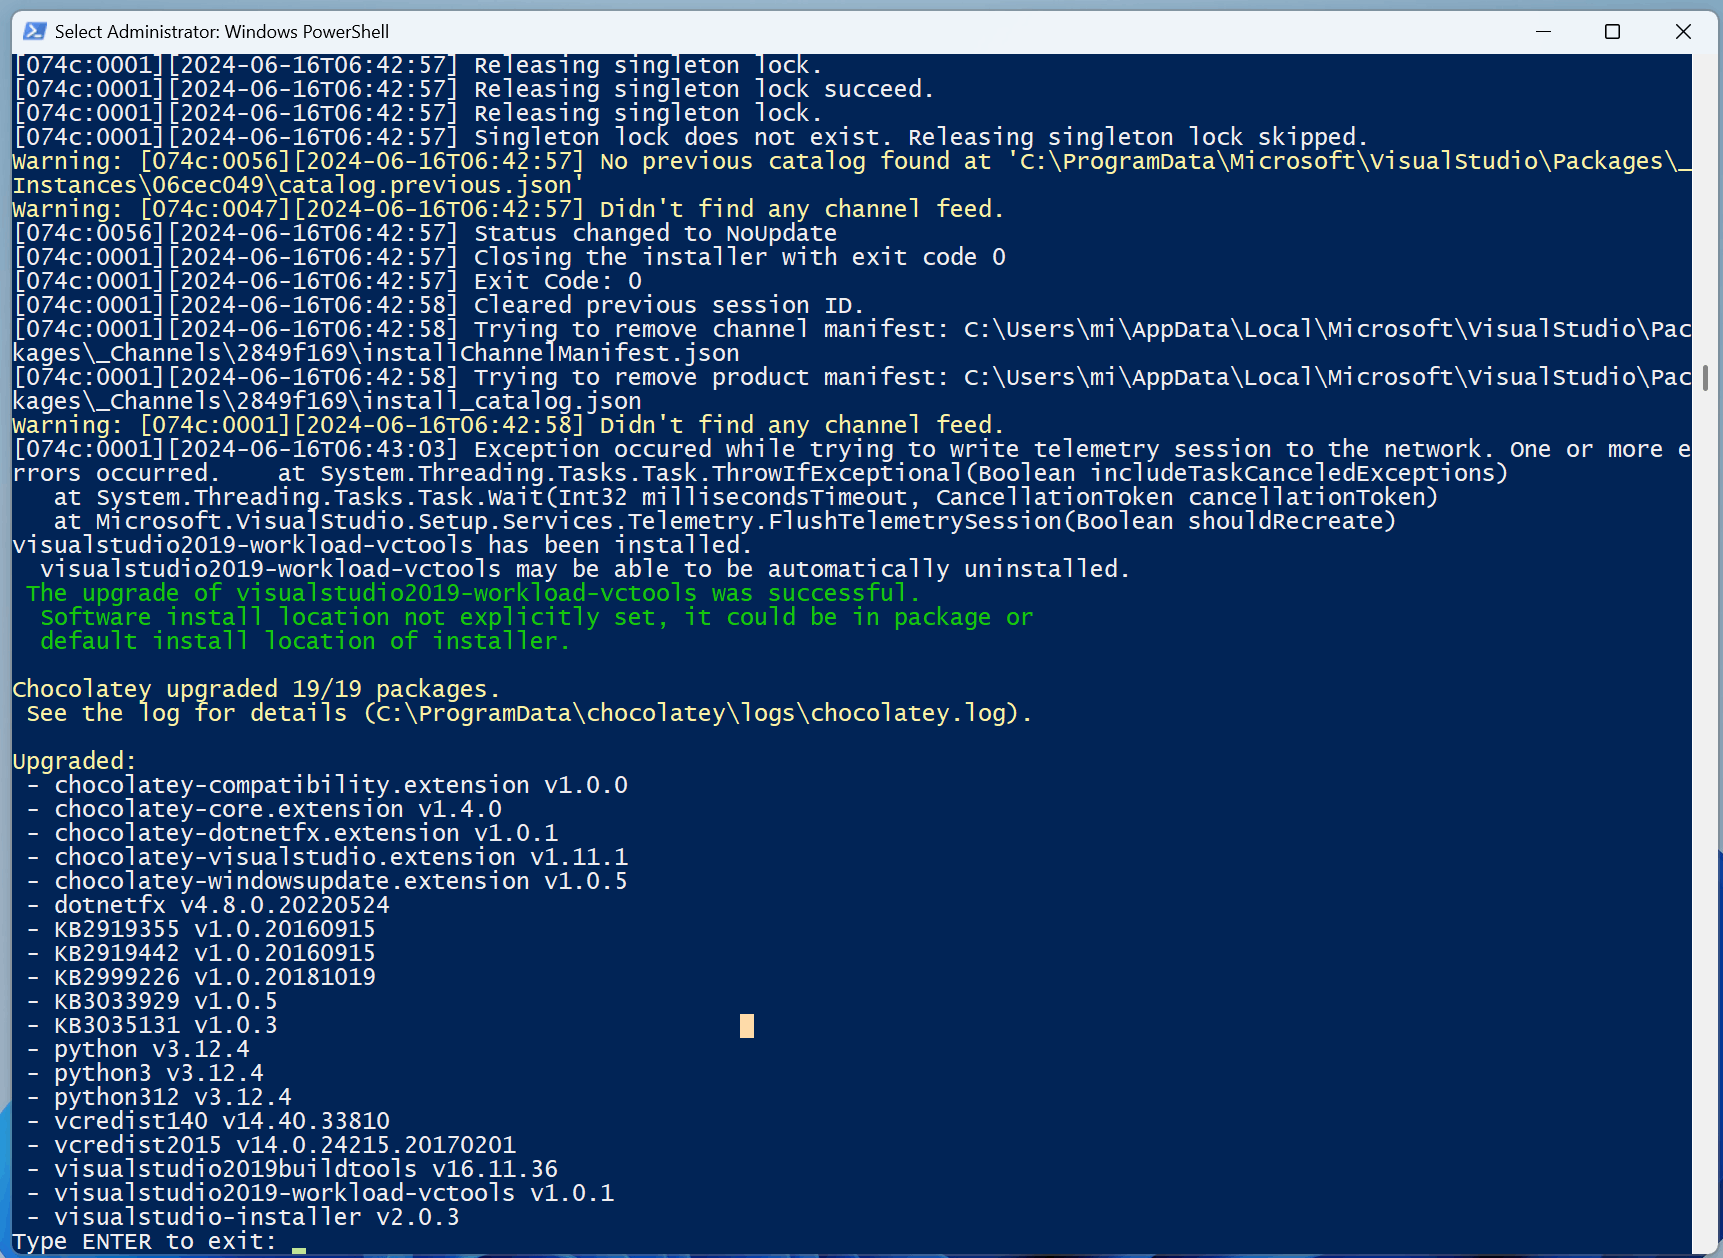
安装流程

  1. 安装node.js

  2. 安装Git

  3. 安装Hexo

  4. 创建Github仓库

  5. 安装上传插件

  6. 更改配置

  7. 上传网页

1. 安装node.js

打开node.js官网Node.js — Run JavaScript Everywhere (nodejs.org)点击下载
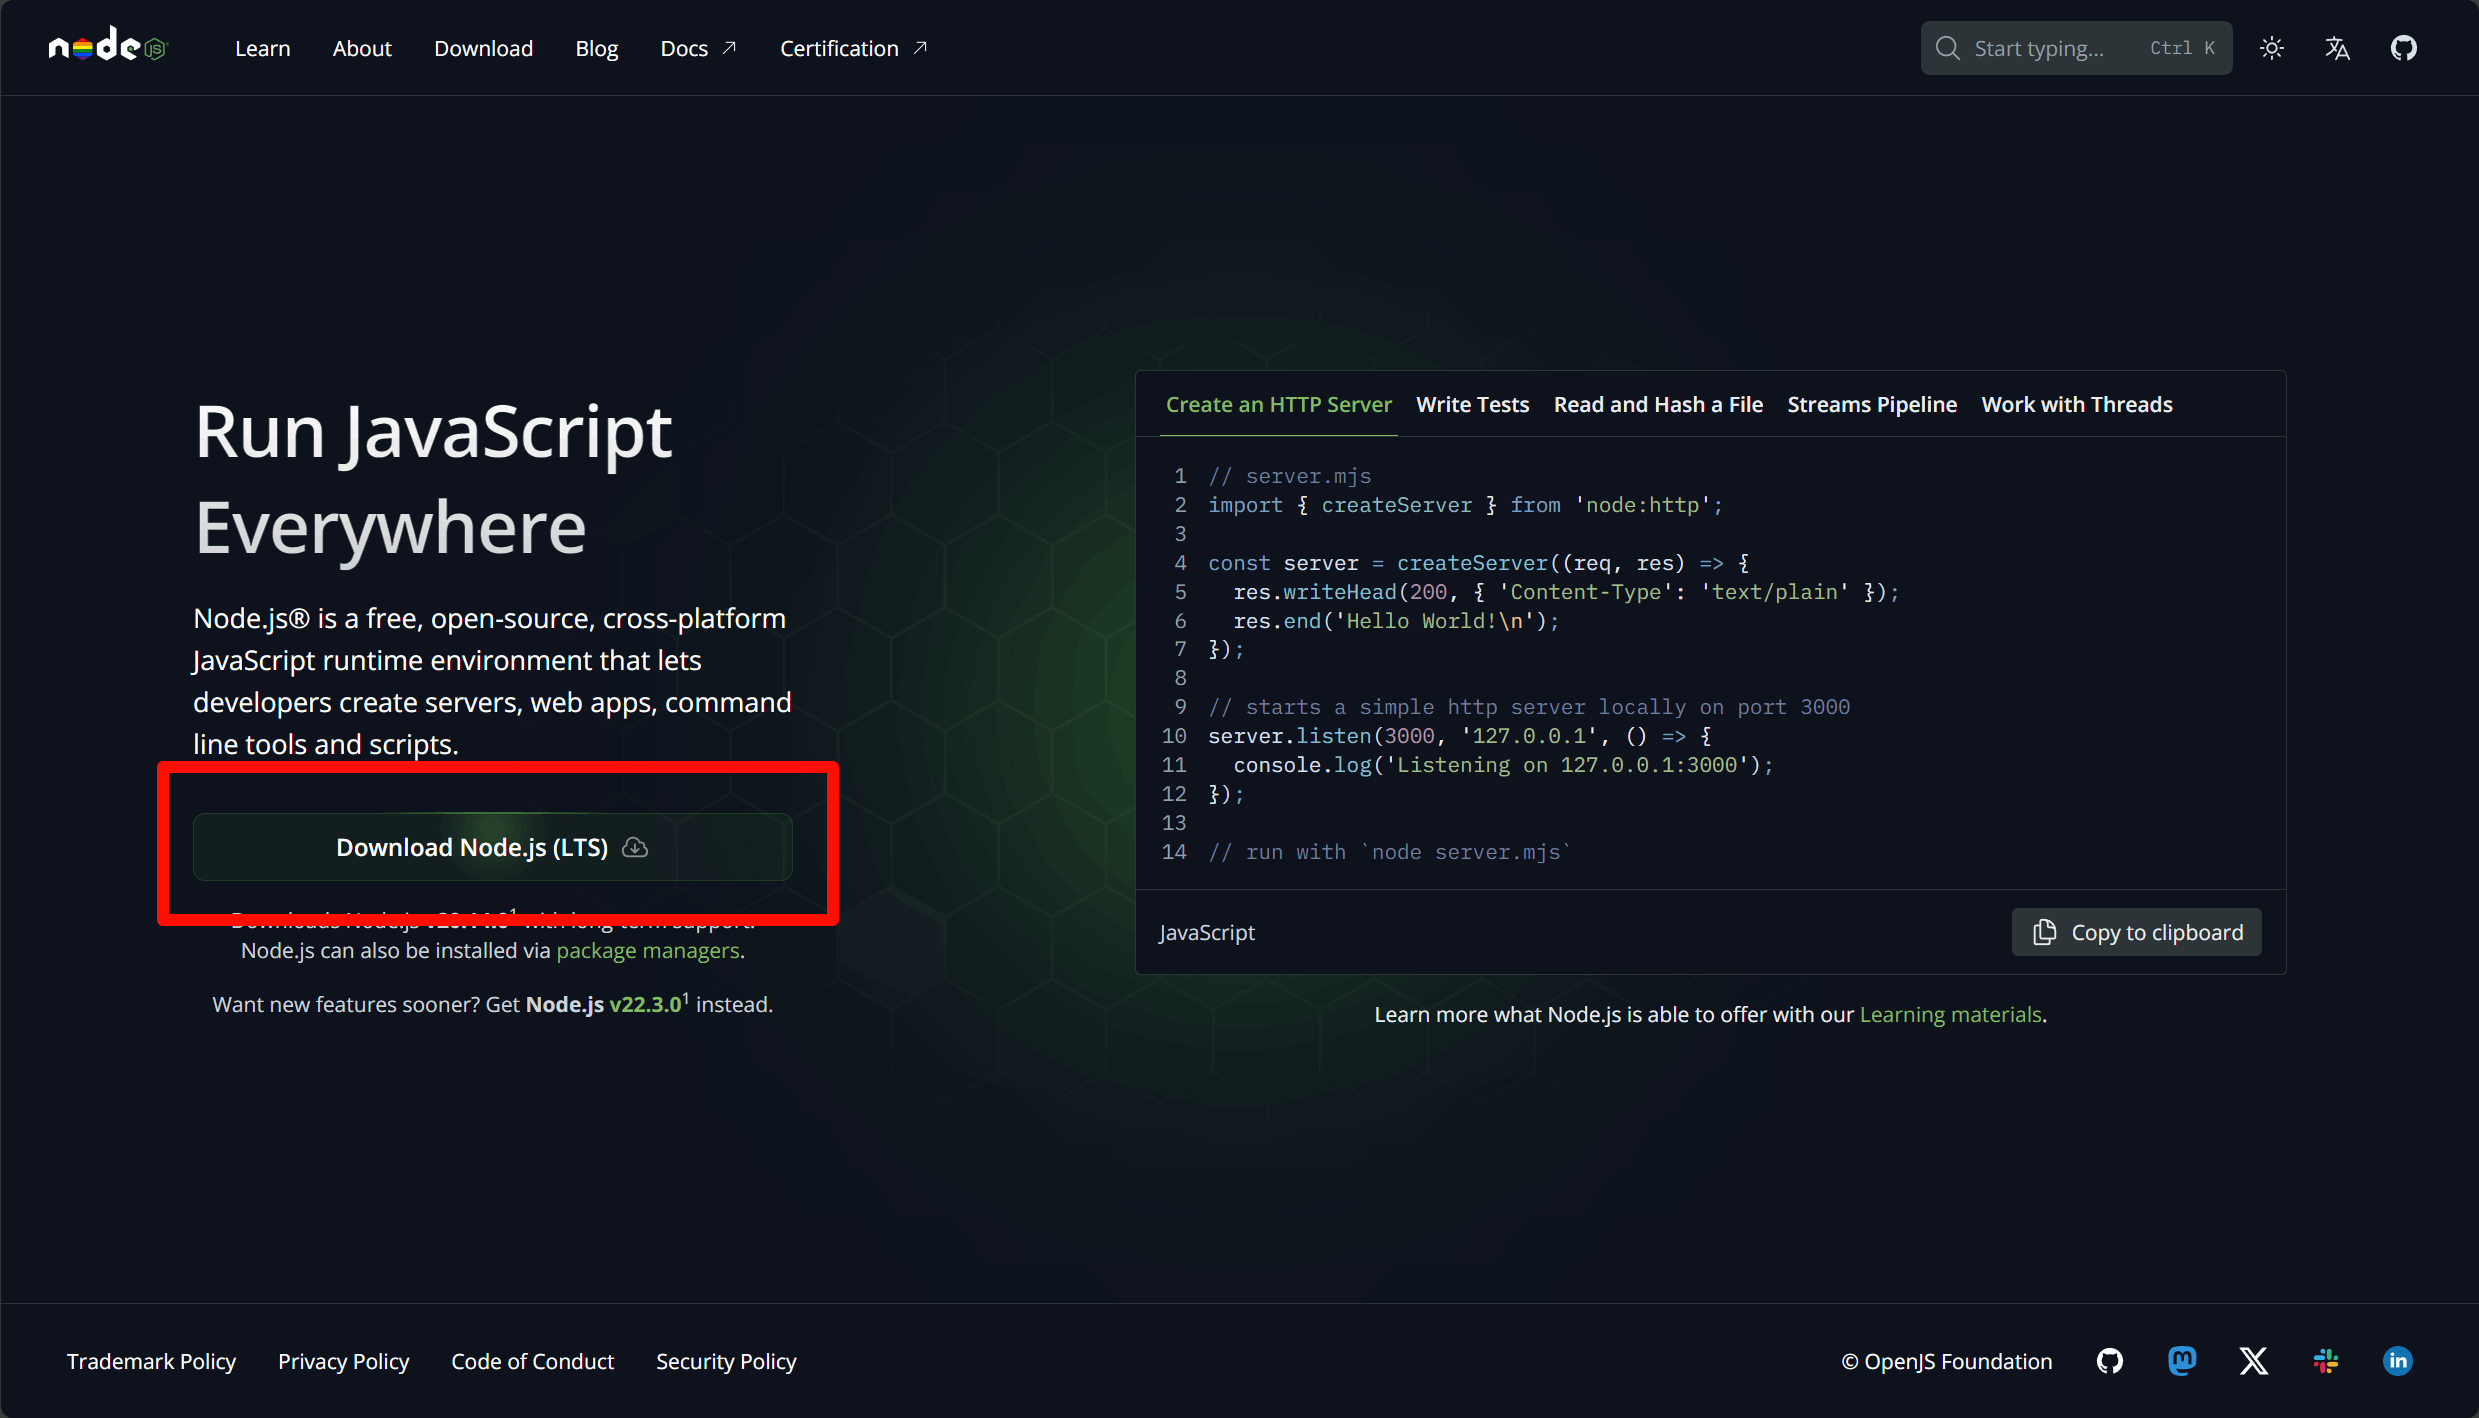
Node.js 官网 Windows 安装包下载入口

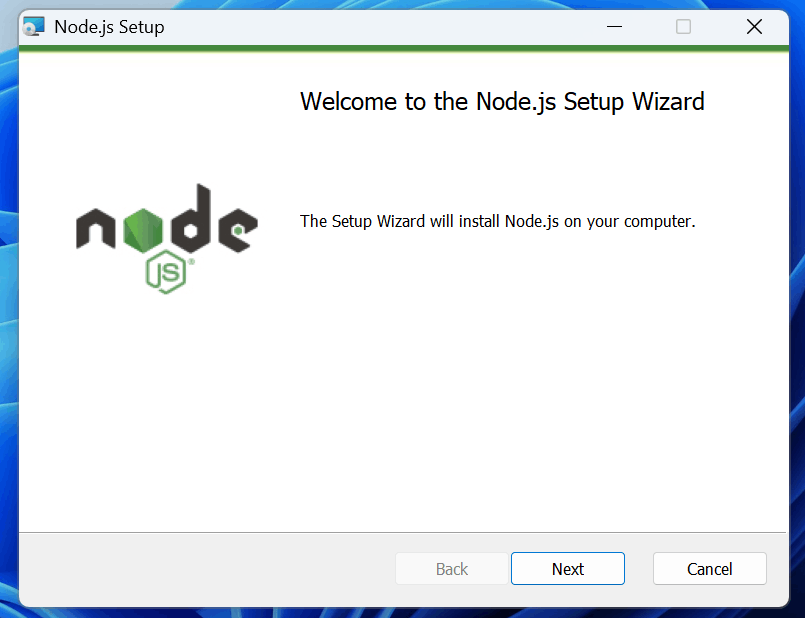
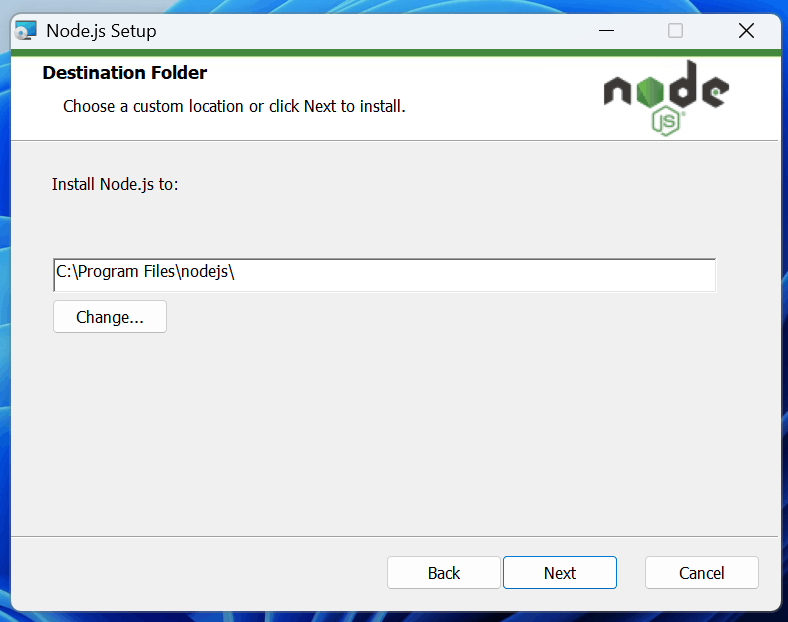
打开安装至默认位置即可

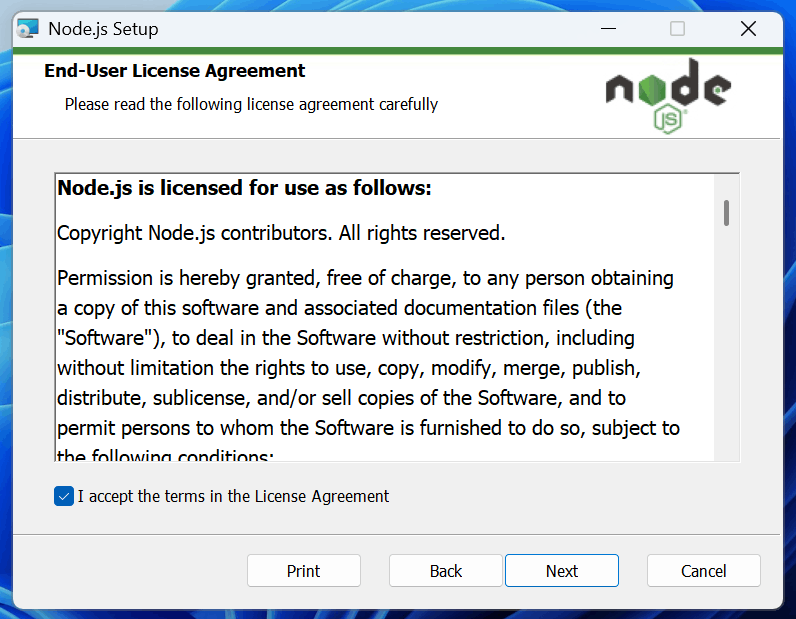
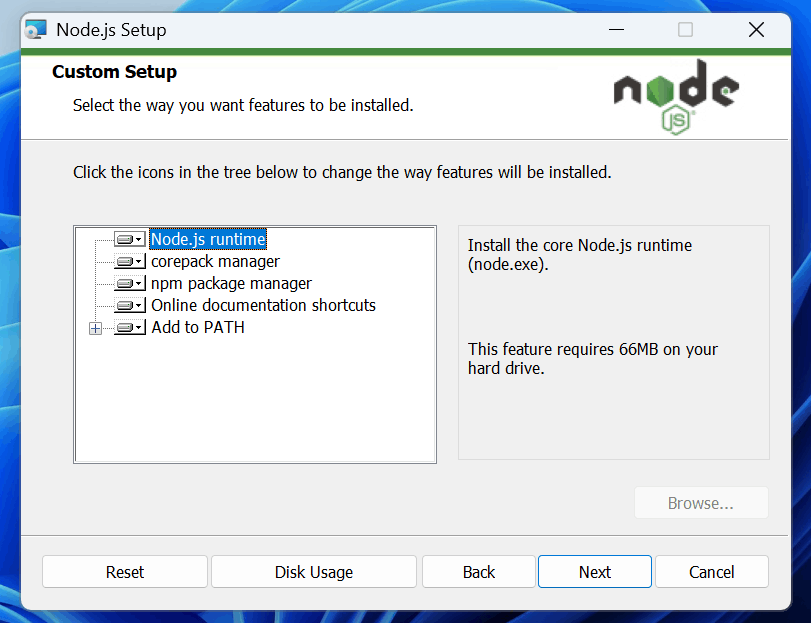
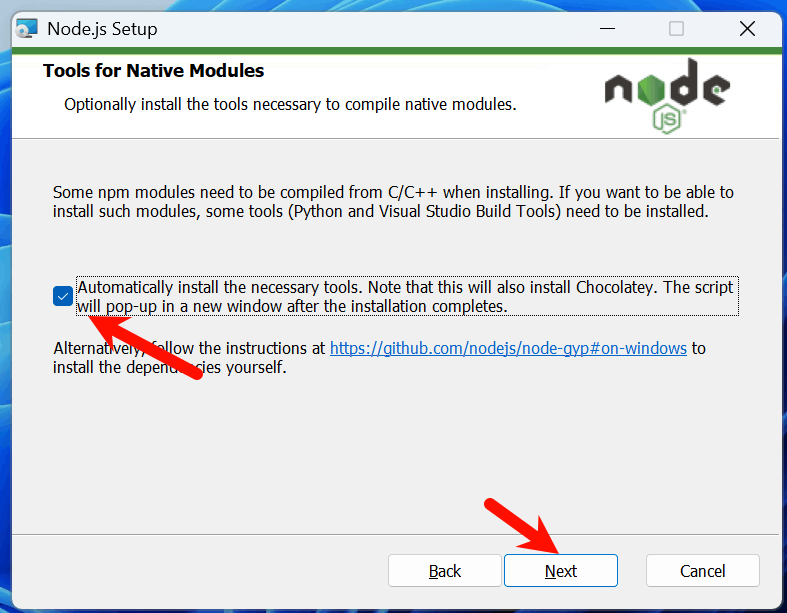
Node.js 安装向导欢迎页面 Node.js 安装许可协议 Node.js 安装目录选择 Node.js 安装组件选择 Node.js 原生模块工具安装选项

自动安装一些工具, 可以选上, 然后安装. 等待安装完成

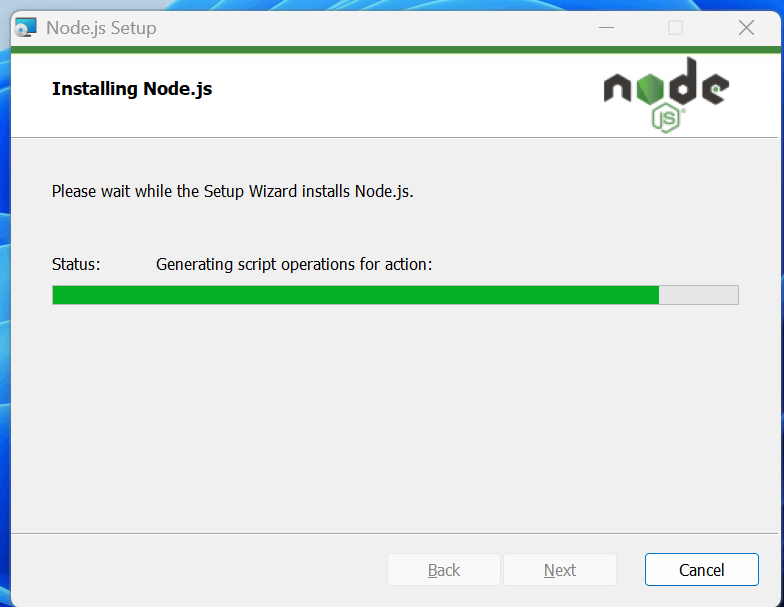
Node.js 安装进度

点击完成, 会弹出一些窗口

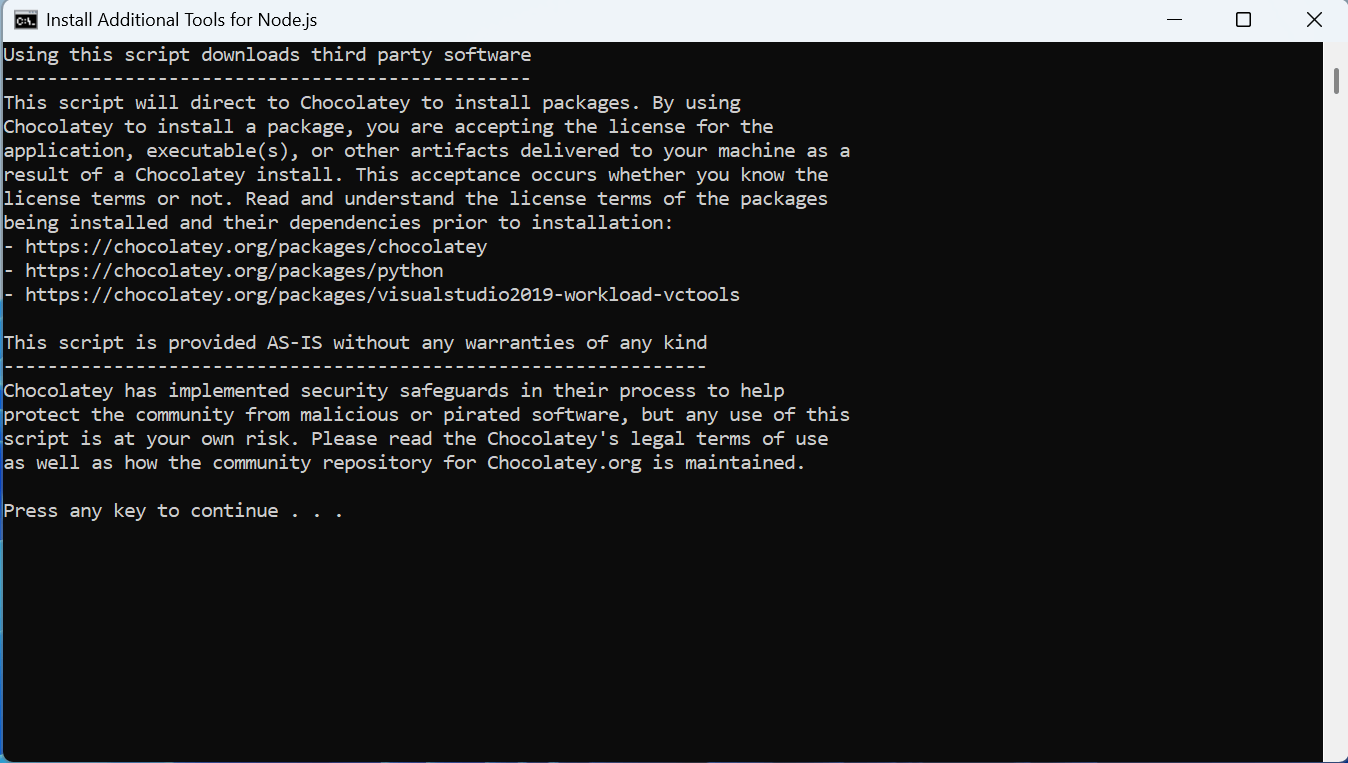
Node.js 原生模块工具安装终端

任意键继续即可, 等待安装完成.

Node.js 附加工具安装提示

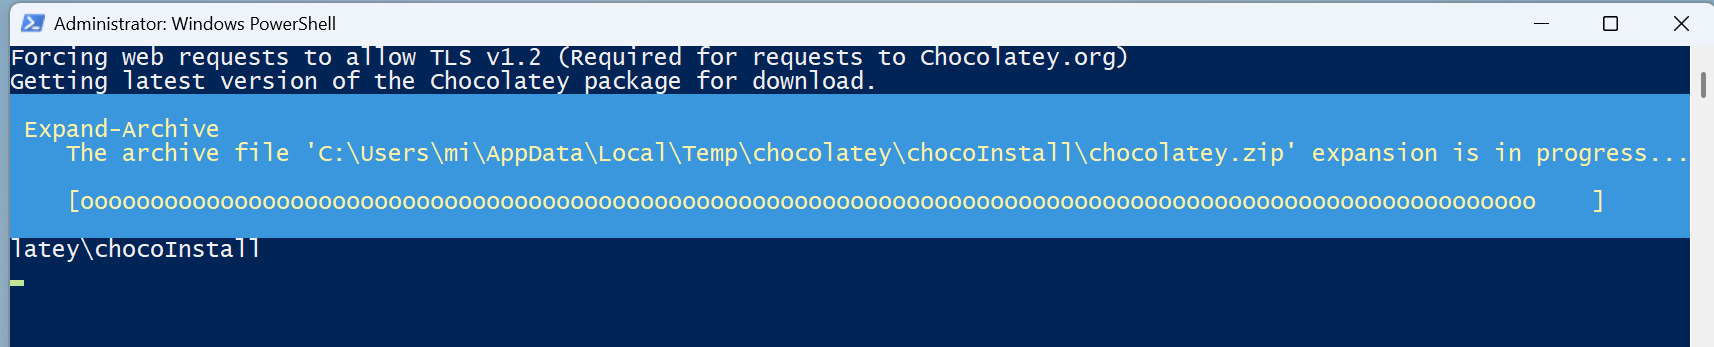
过程较长, 耐心等待安装完成.

Node.js 附加工具安装完成

2. 安装Git

查看往期教程Git 安装及配置教程 | Firefly Blog | 萤火虫博客 (fireflye.asia)

3. 安装Hexo

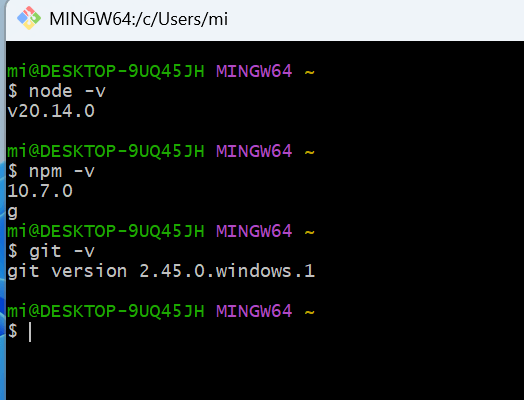
完成上面的安装后, 可以使用以下命令检查是否安装成功.

打开git bash,输入

1
2
3
node -v
npm -v
git -v

显示版本信息, 说明安装成功.

Node.js、npm 与 Git 版本检查

如果没有代理, 可用下面的淘宝镜像源:

1
npm config set registry https://registry.npmmirror.com/

之后再输入以下命令安装hexo

1
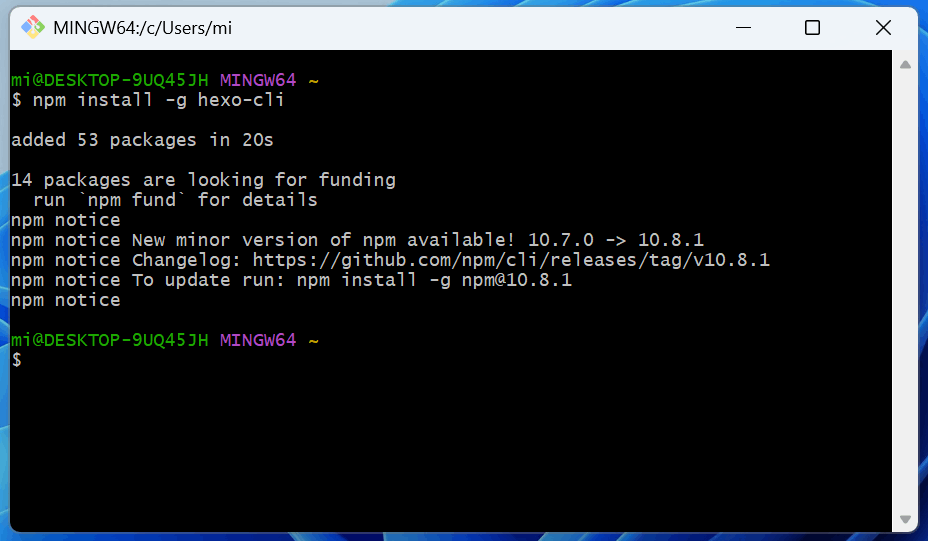
npm install -g hexo-cli

等待安装完成显示以下信息说明安装完成

npm 安装 Hexo CLI 完成

还可以使用以下命令来查看安装情况

1
hexo -v

若显示版本信息, 说明已成功安装

打开一个要存放网站文件的位置, 例如F:\web\. 打开此文件夹, 右键选择open git bash here

或者 直接打开git bash 输入cd f:\web. 路径替换为自己的路径.

打开后会显示(我使用的虚拟机放在了桌面. 不建议这样做. 文件夹需要妥善保存.)
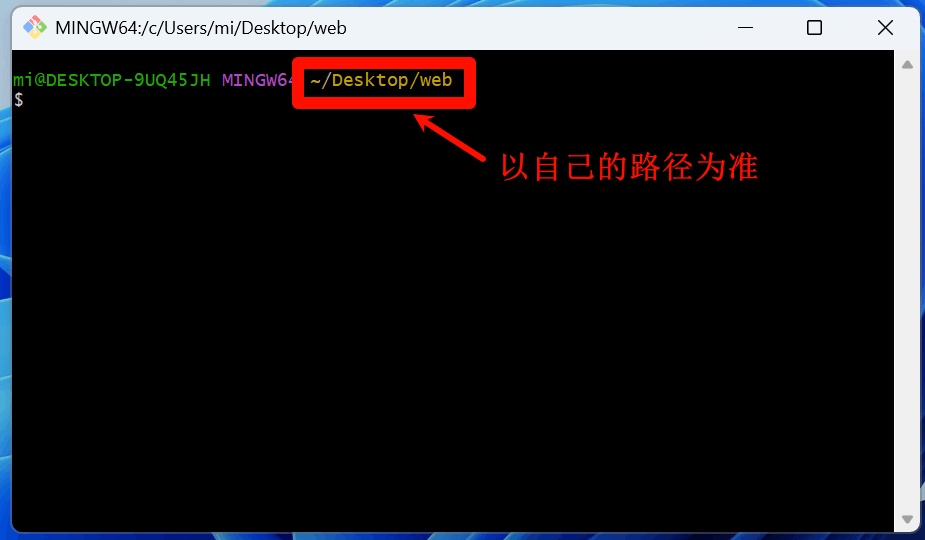
在 Hexo 工作目录中打开 Git Bash

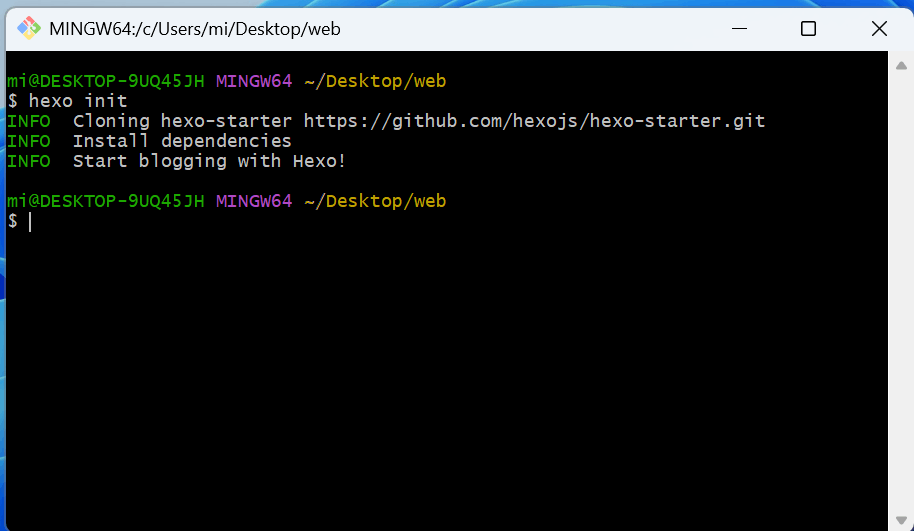
输入以下命令初始化hexo(一定要在刚刚的文件夹内-路径显示)

1
hexo init

保证网络畅通, 耐心等待初始化完成.

Hexo 初始化完成的终端输出

到此, hexo初始化完成. 下面配置github仓库.

4. 创建Github仓库

打开Github注册一个自己的账号

GitHub 账号注册入口

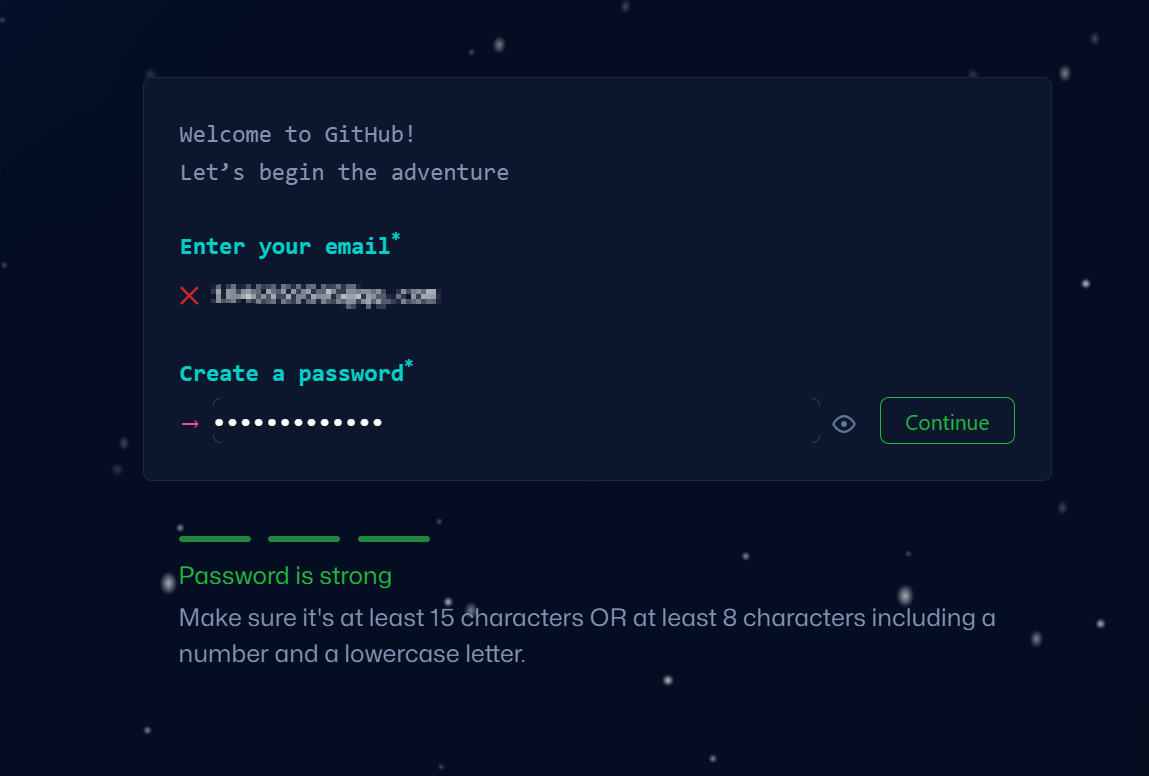
输入自己的邮箱, 密码等

GitHub 注册邮箱填写

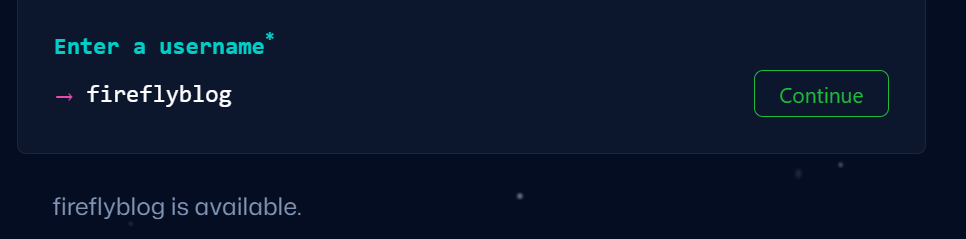
用户名建议设置简单易记一些, 待会创建的网站域名与自己的用户名有关

GitHub 注册用户名填写

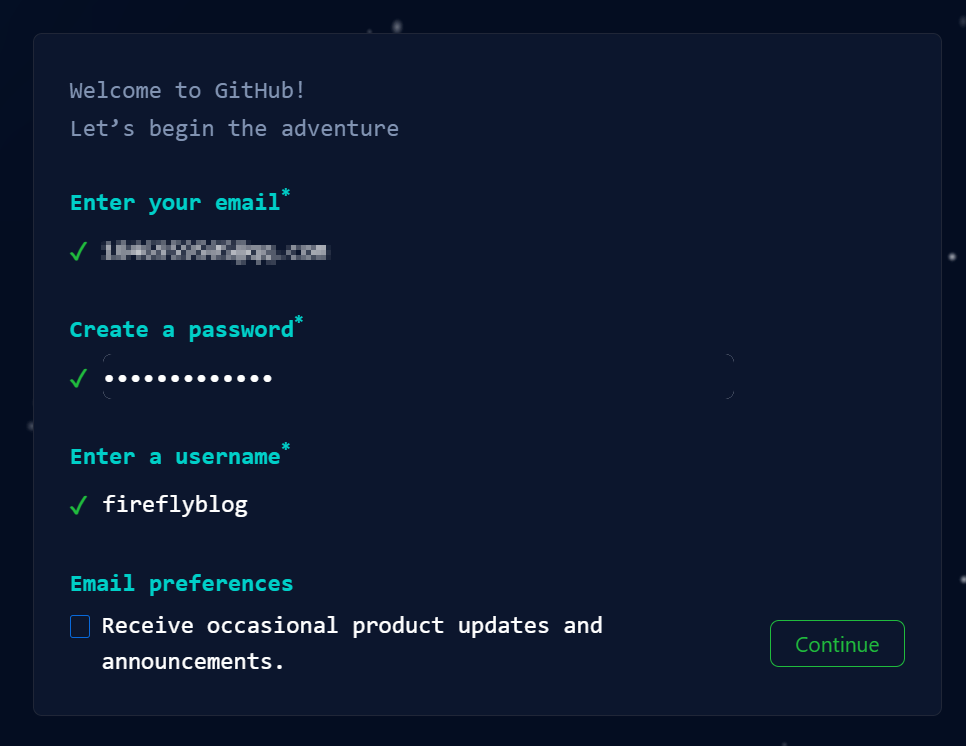
总览

GitHub 注册信息确认

点击继续, 通过验证码和邮箱数字验证就可以注册成功.

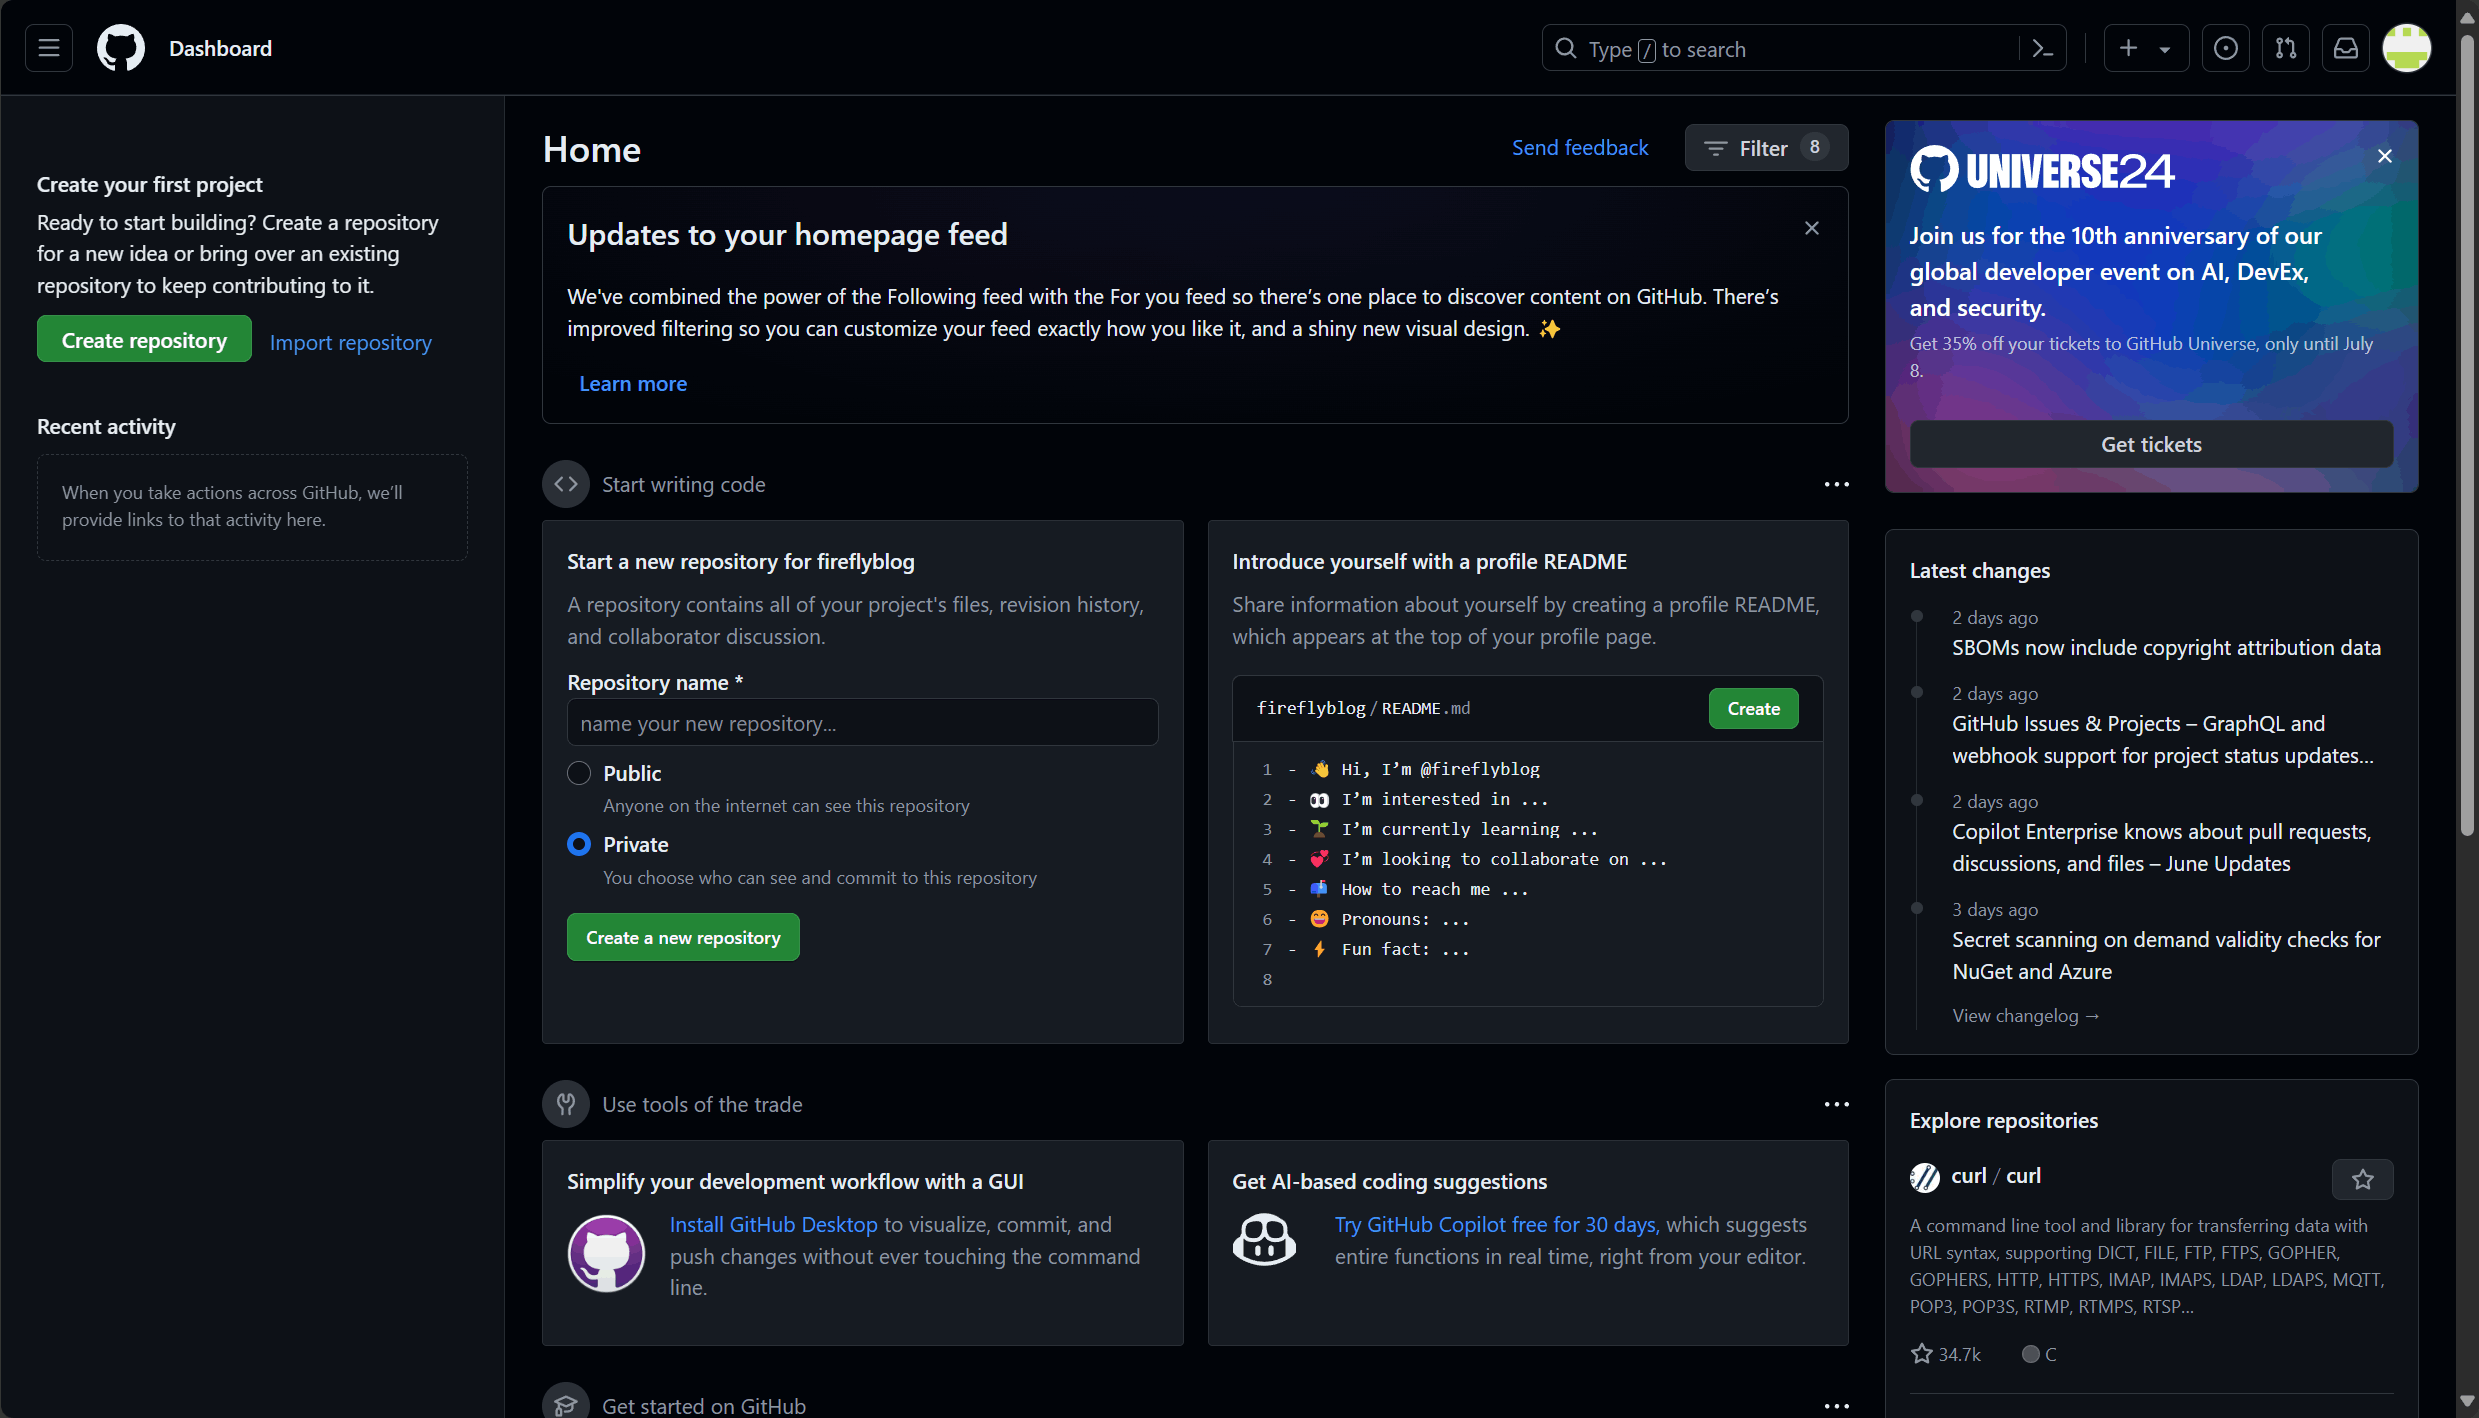
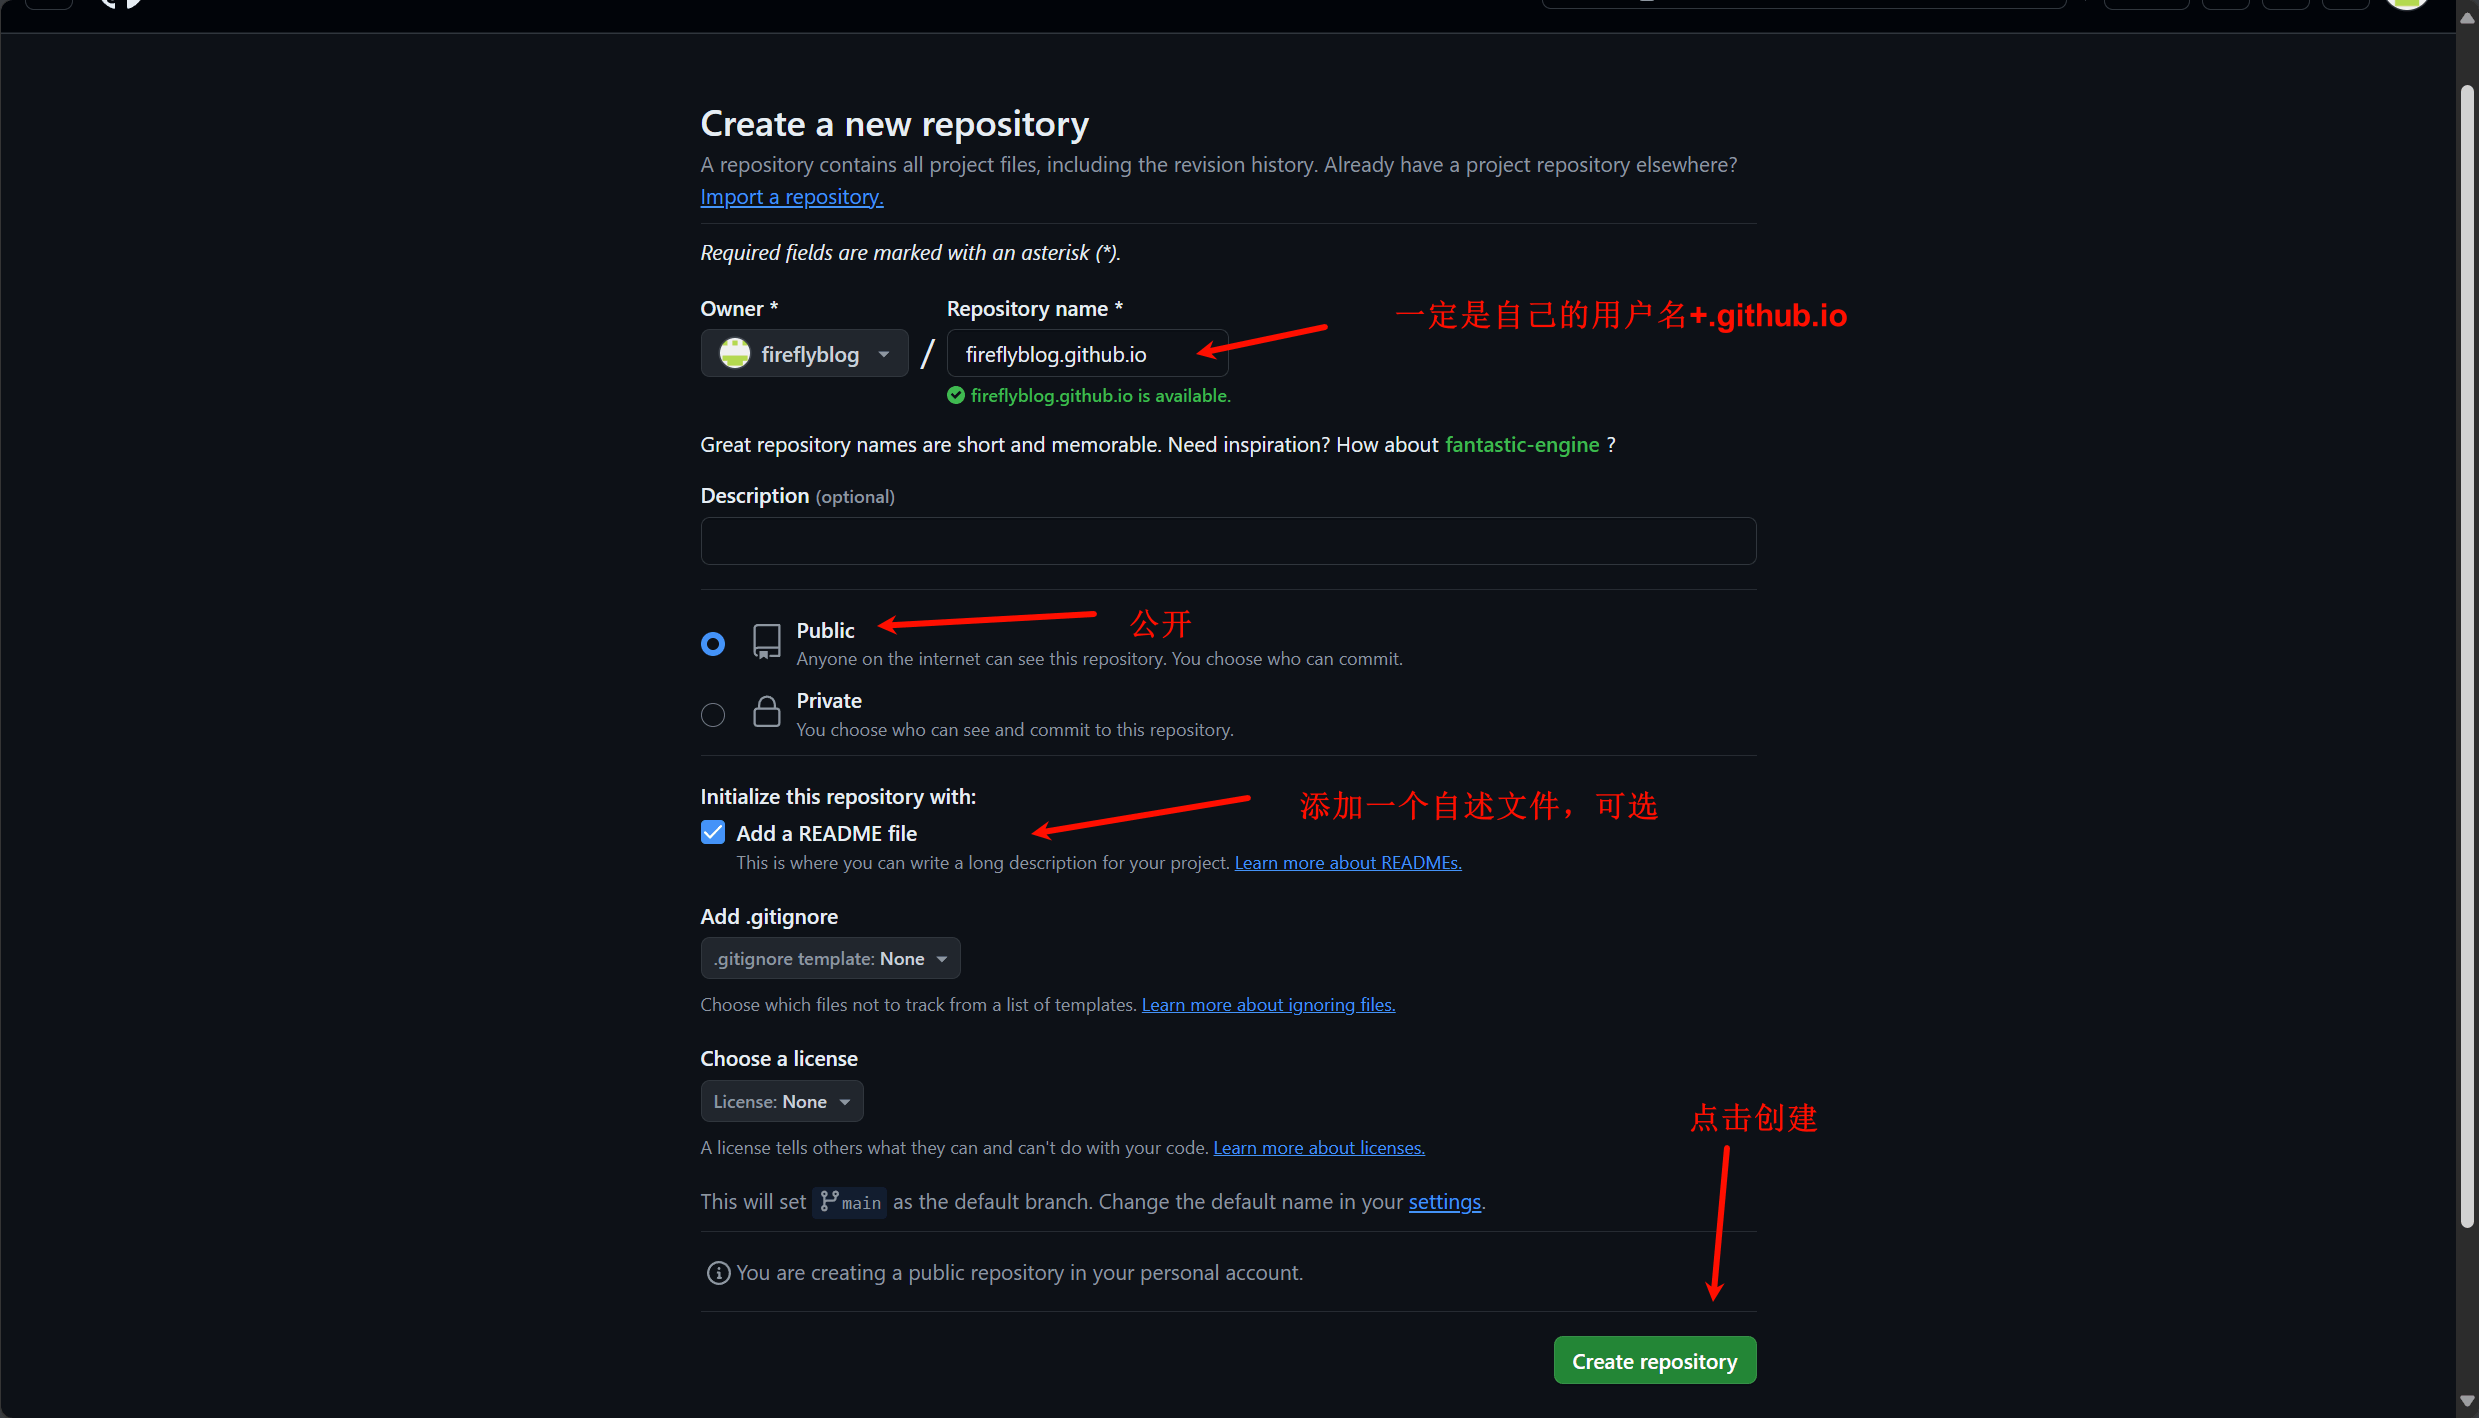
GitHub 控制台新建仓库入口

点击左侧的绿色按钮新建仓库Create repository.

GitHub 新建仓库参数设置

到此, 仓库已经创建完成


接下来还需要配置一下上传的密钥对

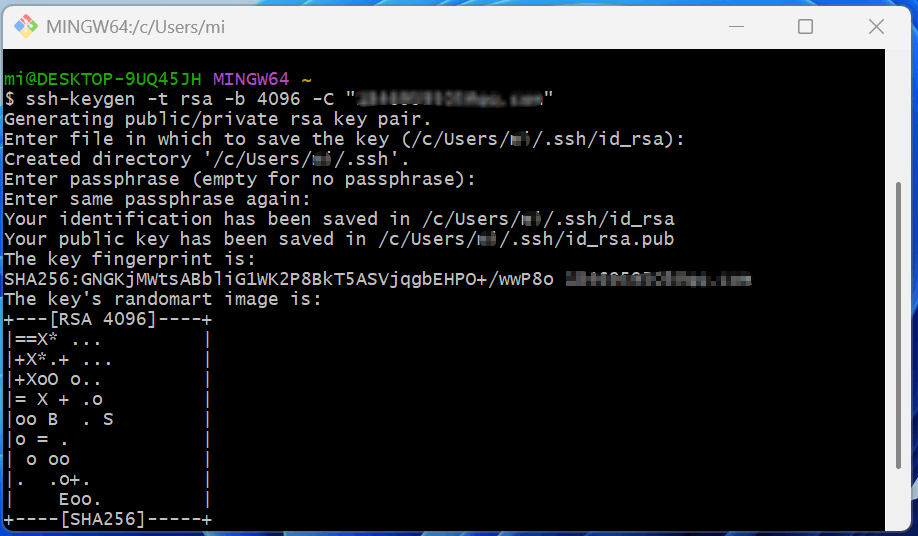
打开git bash, 输入以下命令 ("email"替换为自己的邮箱)

1
ssh-keygen -t rsa -b 4096 -C "email"

然后按三下回车键, 即均保持默认不设置密码. 也可根据自己需要修改

使用 ssh-keygen 创建 SSH 密钥

第一次是保存位置

第二次是密码

第三次是重复密码

创建完成后, 打开保存的目录. 默认在C:\Users\用户名\.ssh
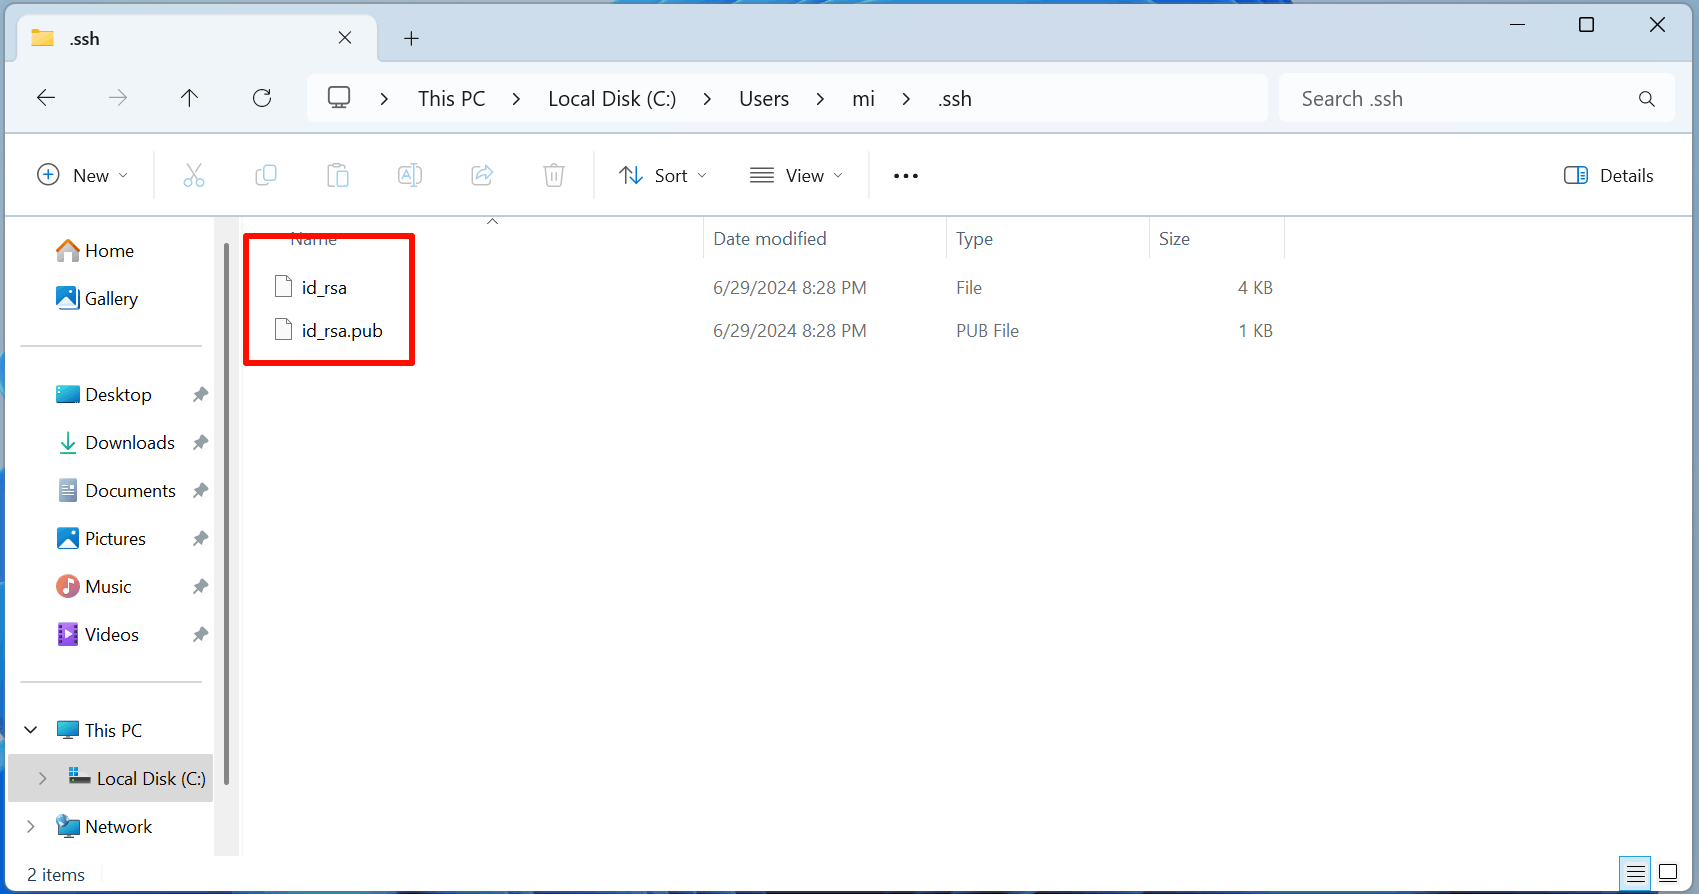
Windows 用户目录中的 SSH 密钥文件

第一个是私钥, 自己一定要保存好, 不能给别人.

将第二个pub结尾的用记事本打开, 将里面的内容复制出来.
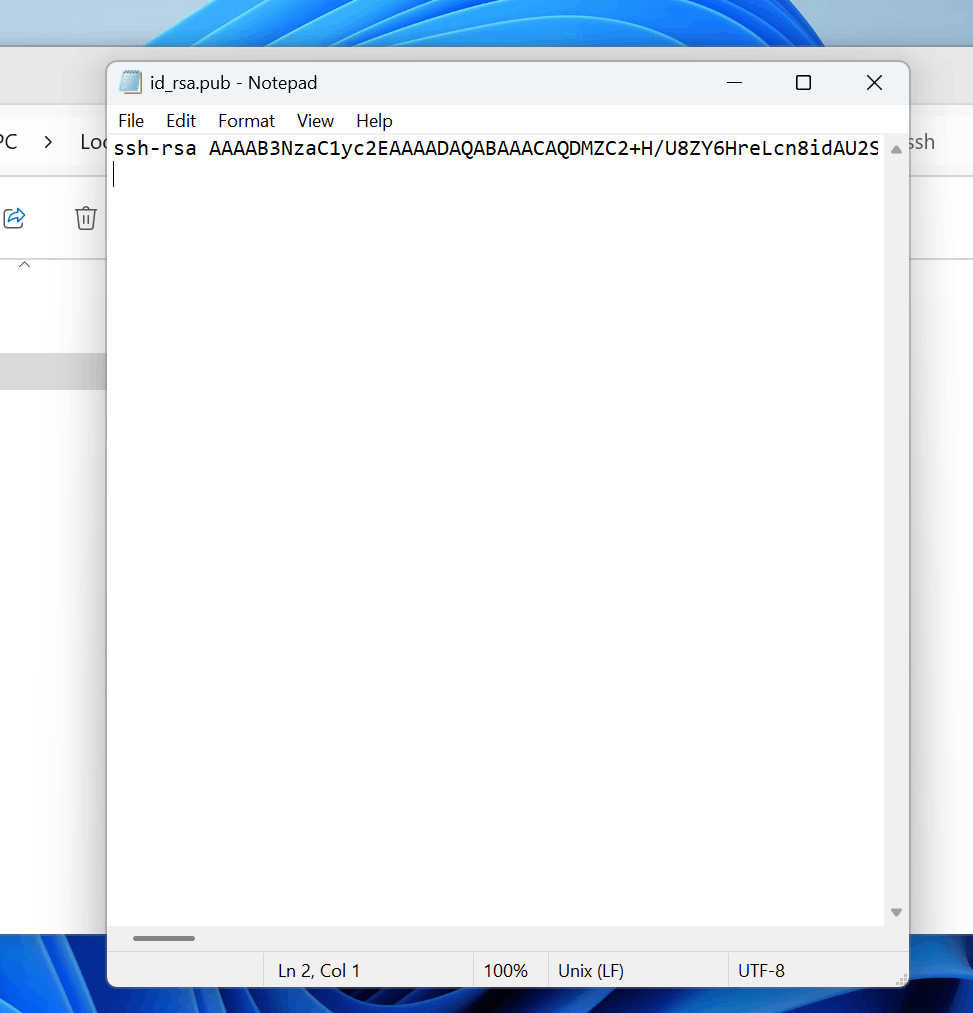
使用记事本查看 SSH 公钥

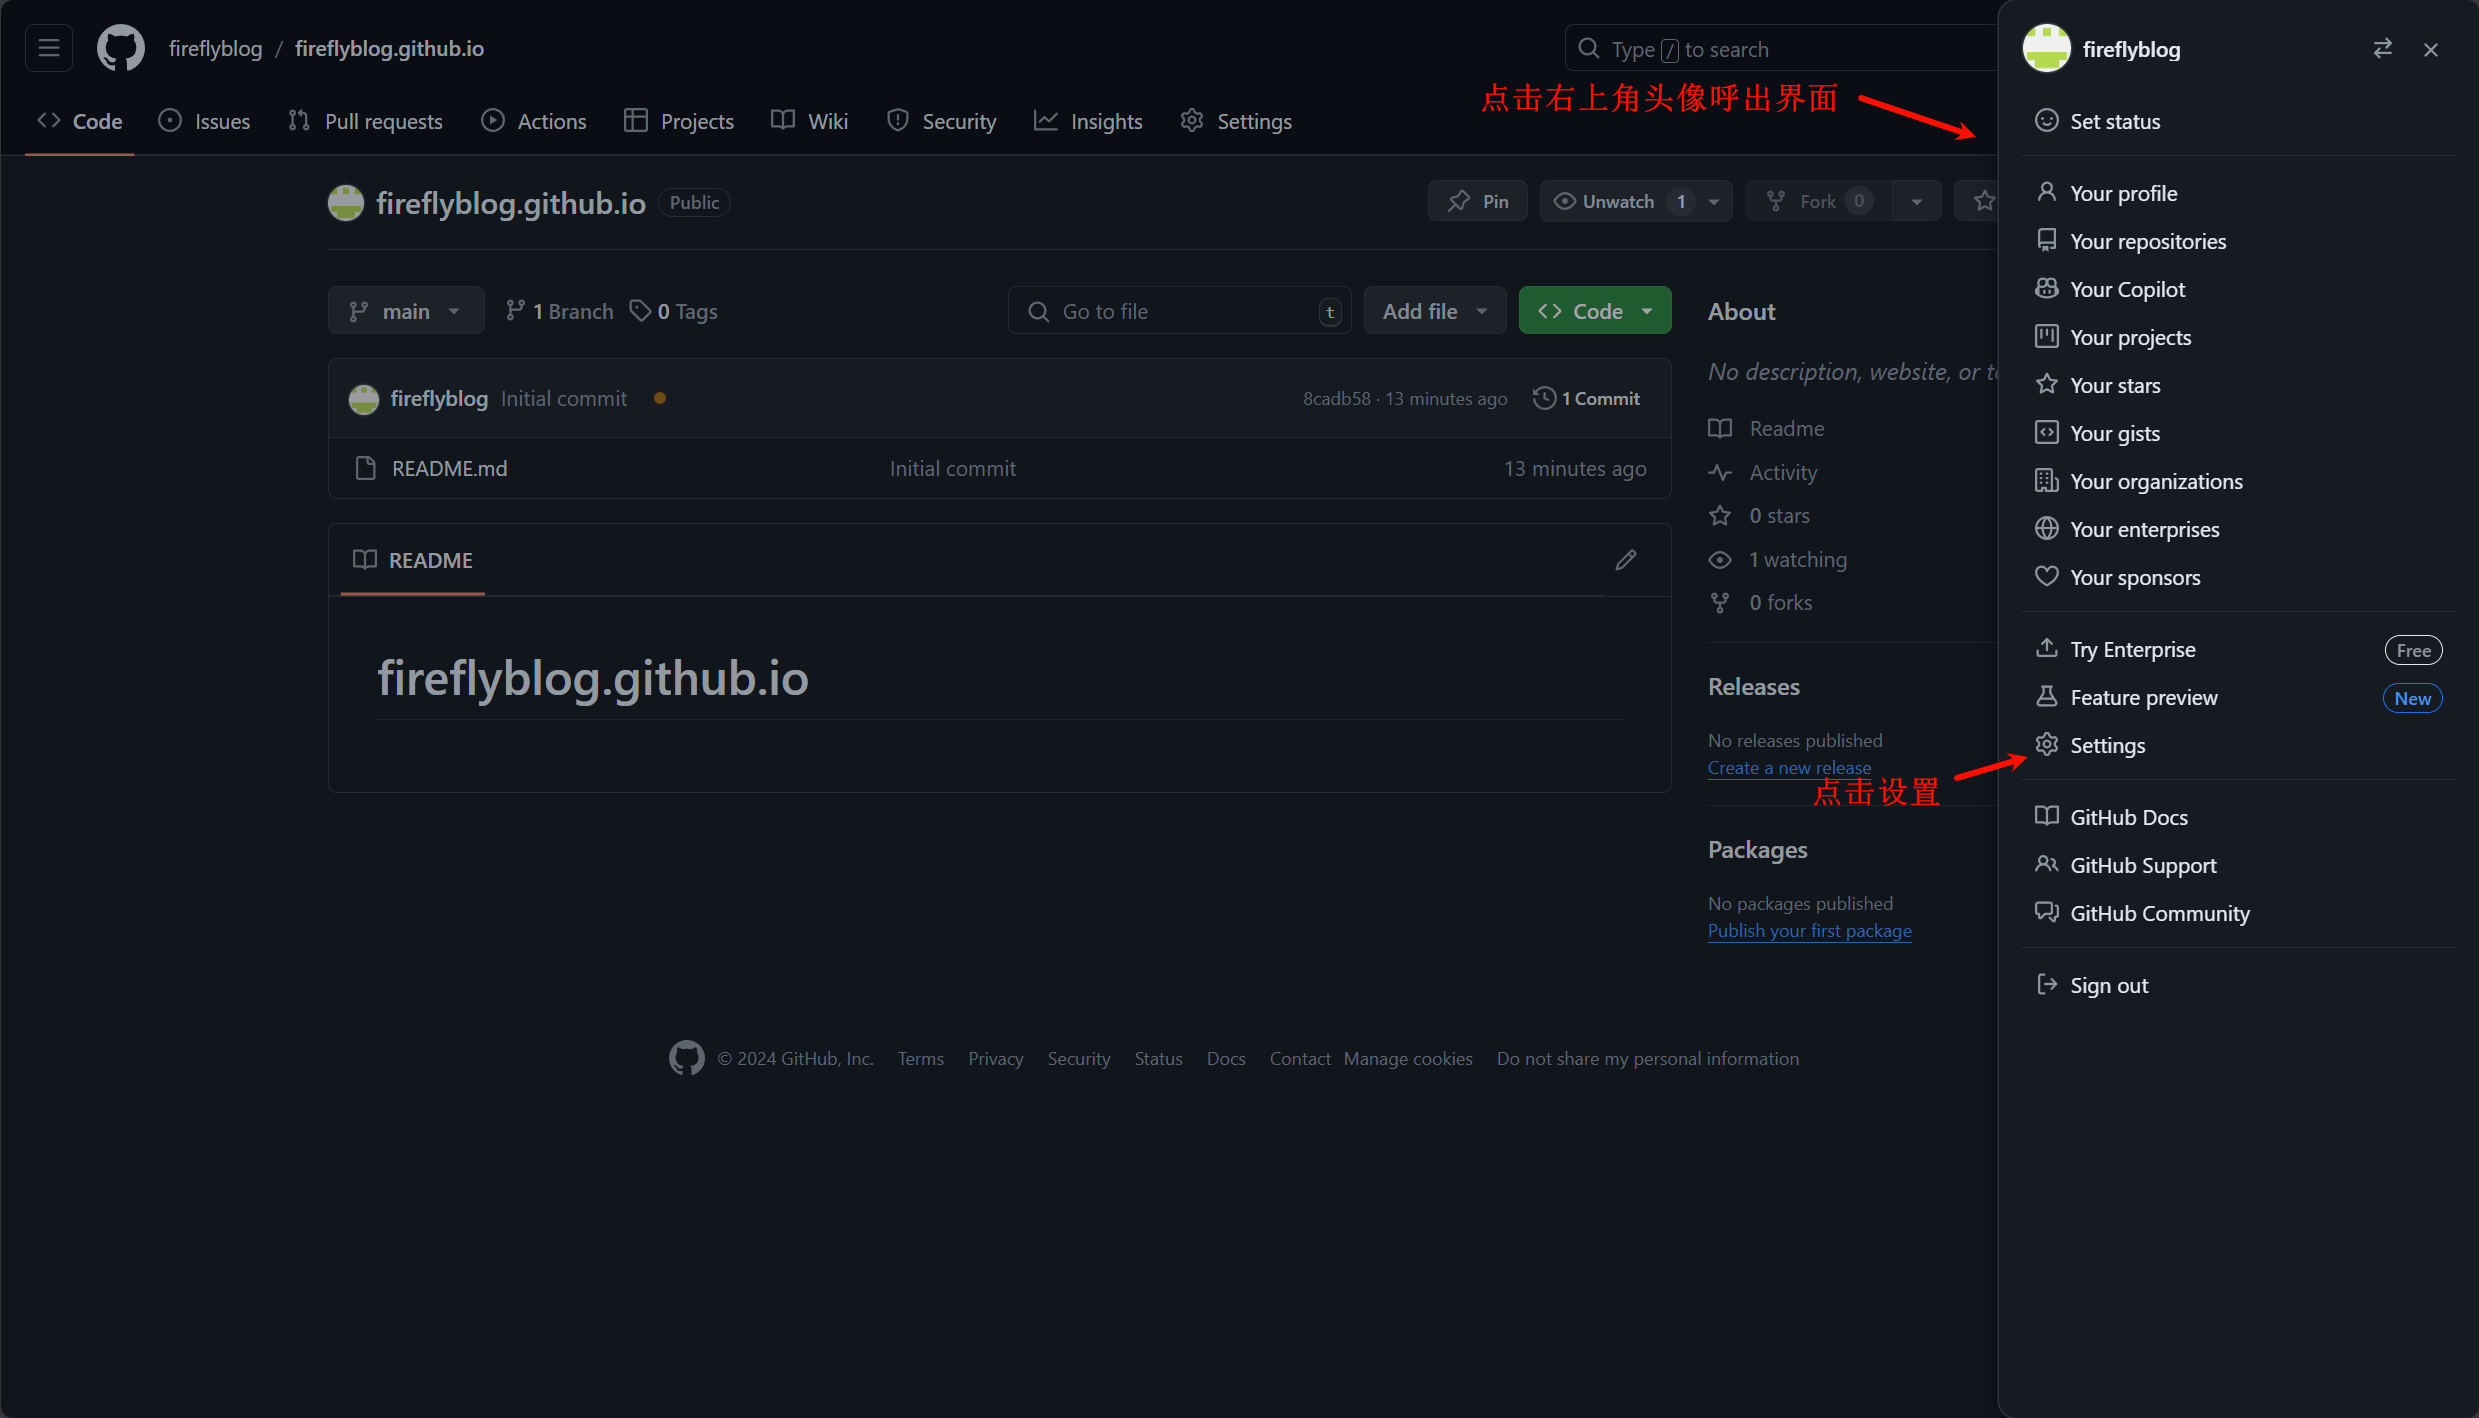
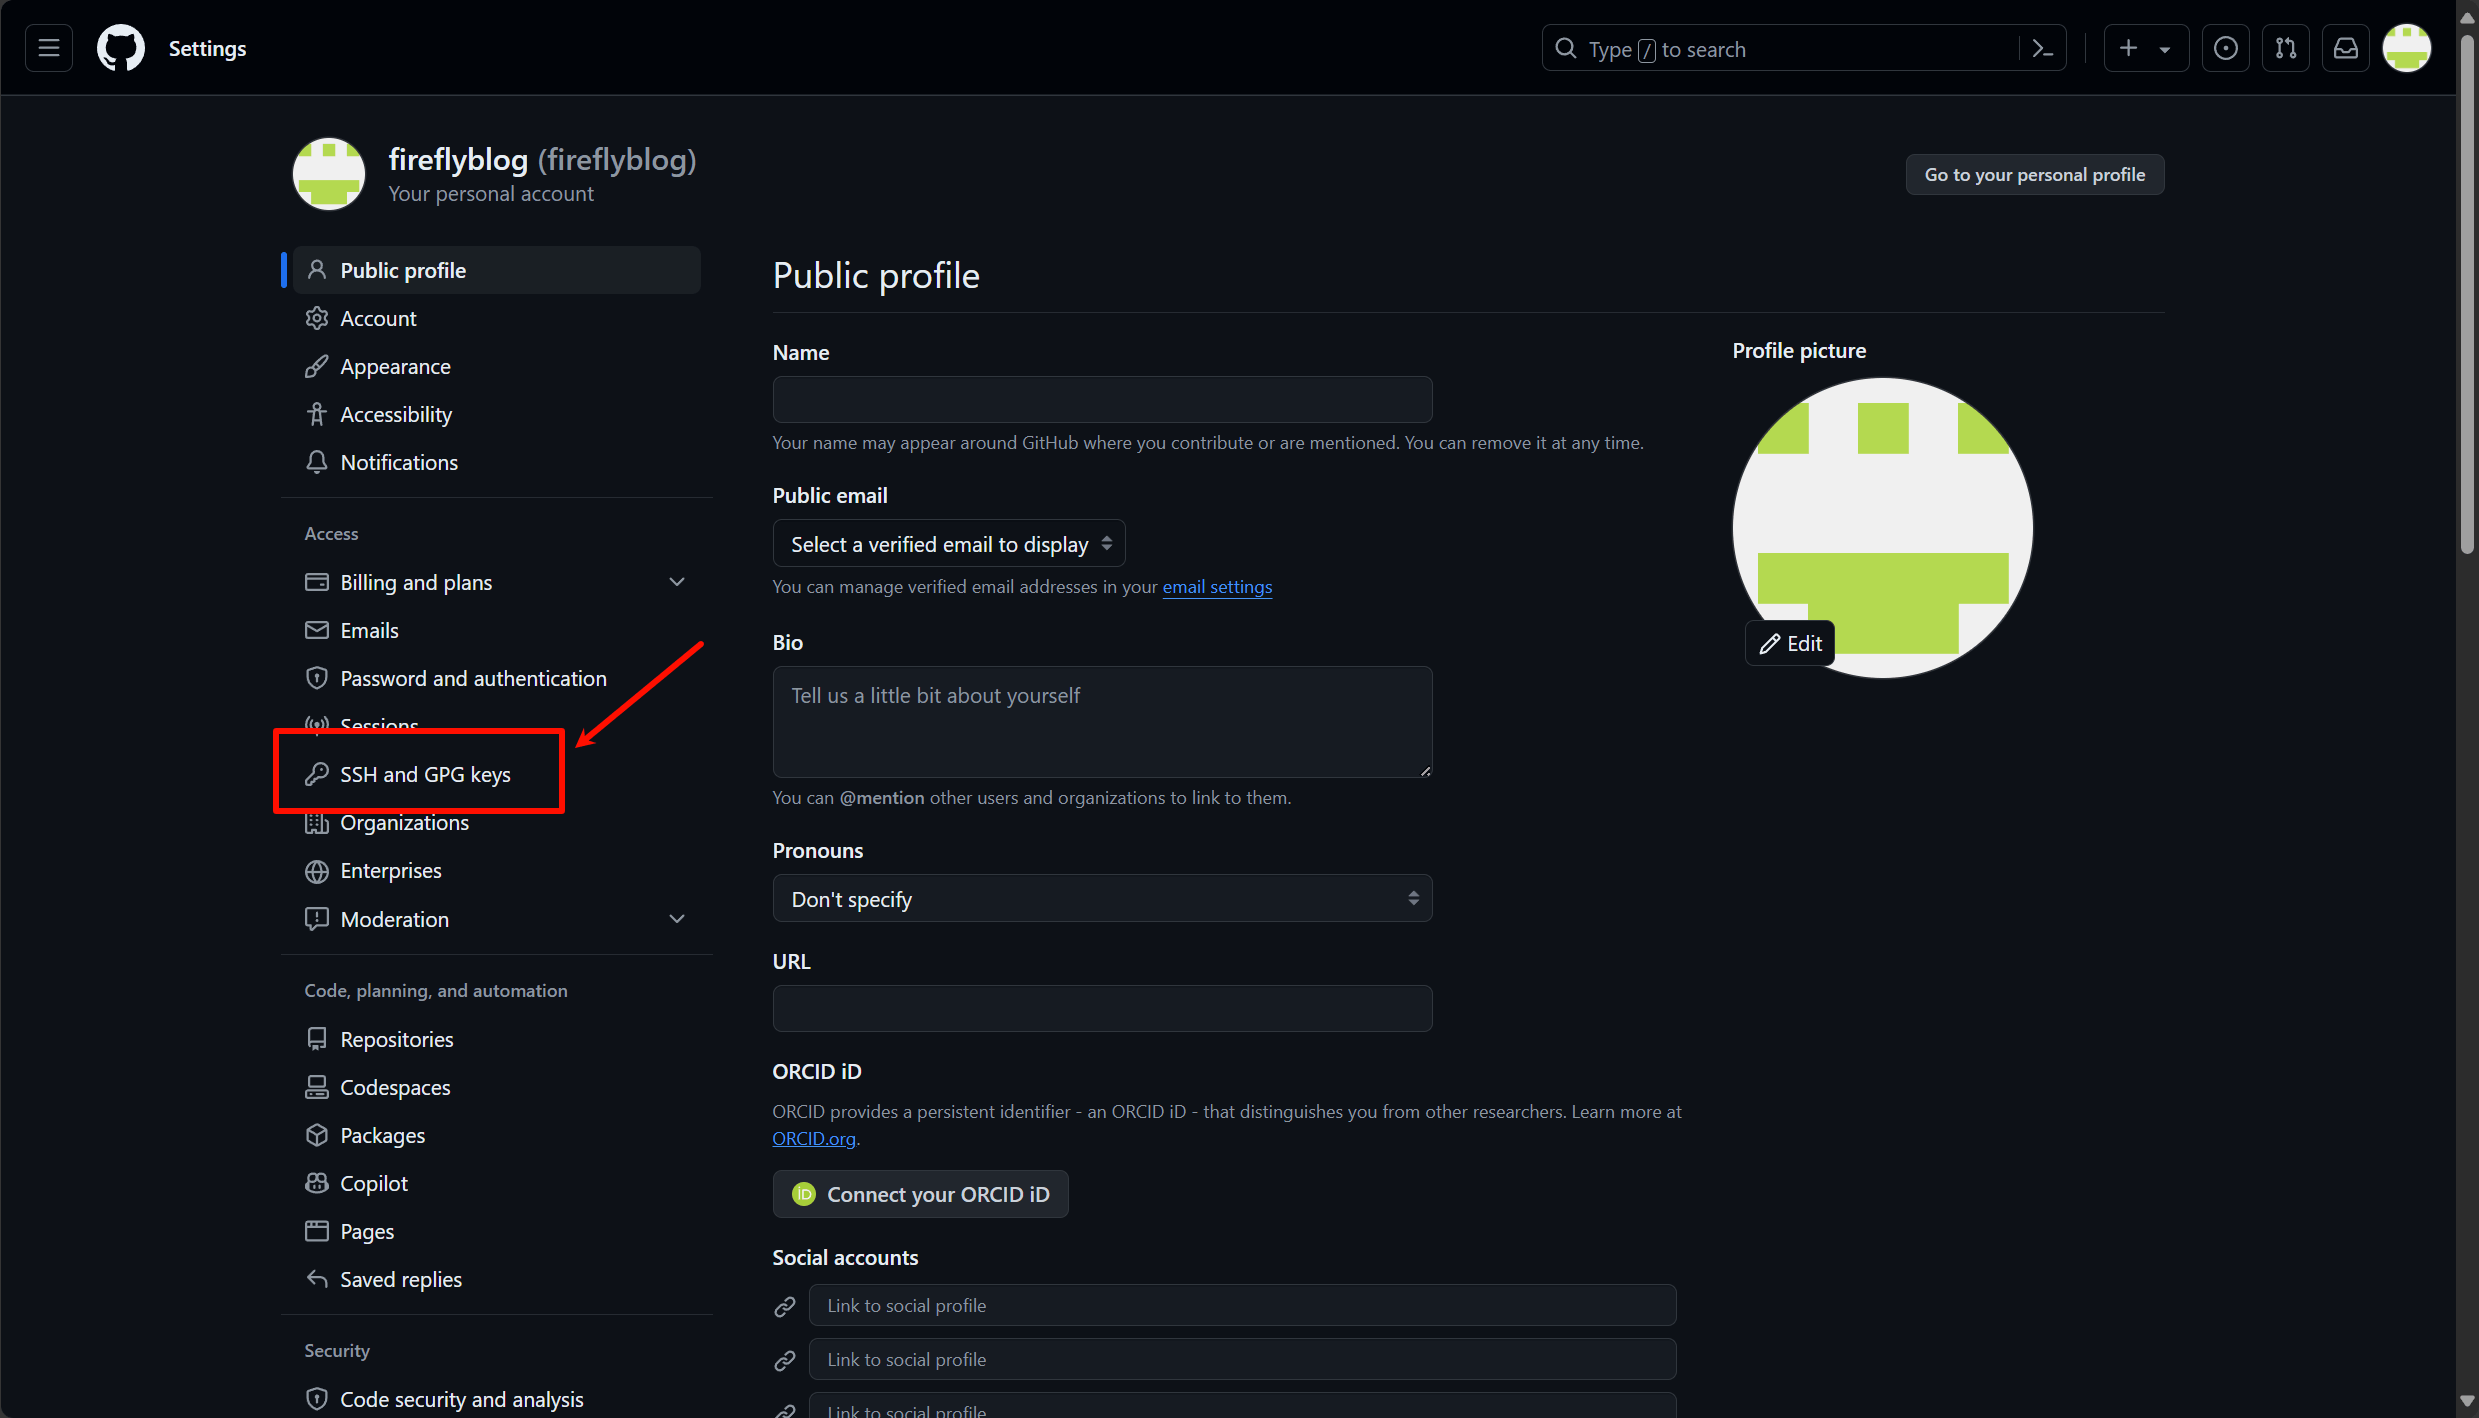
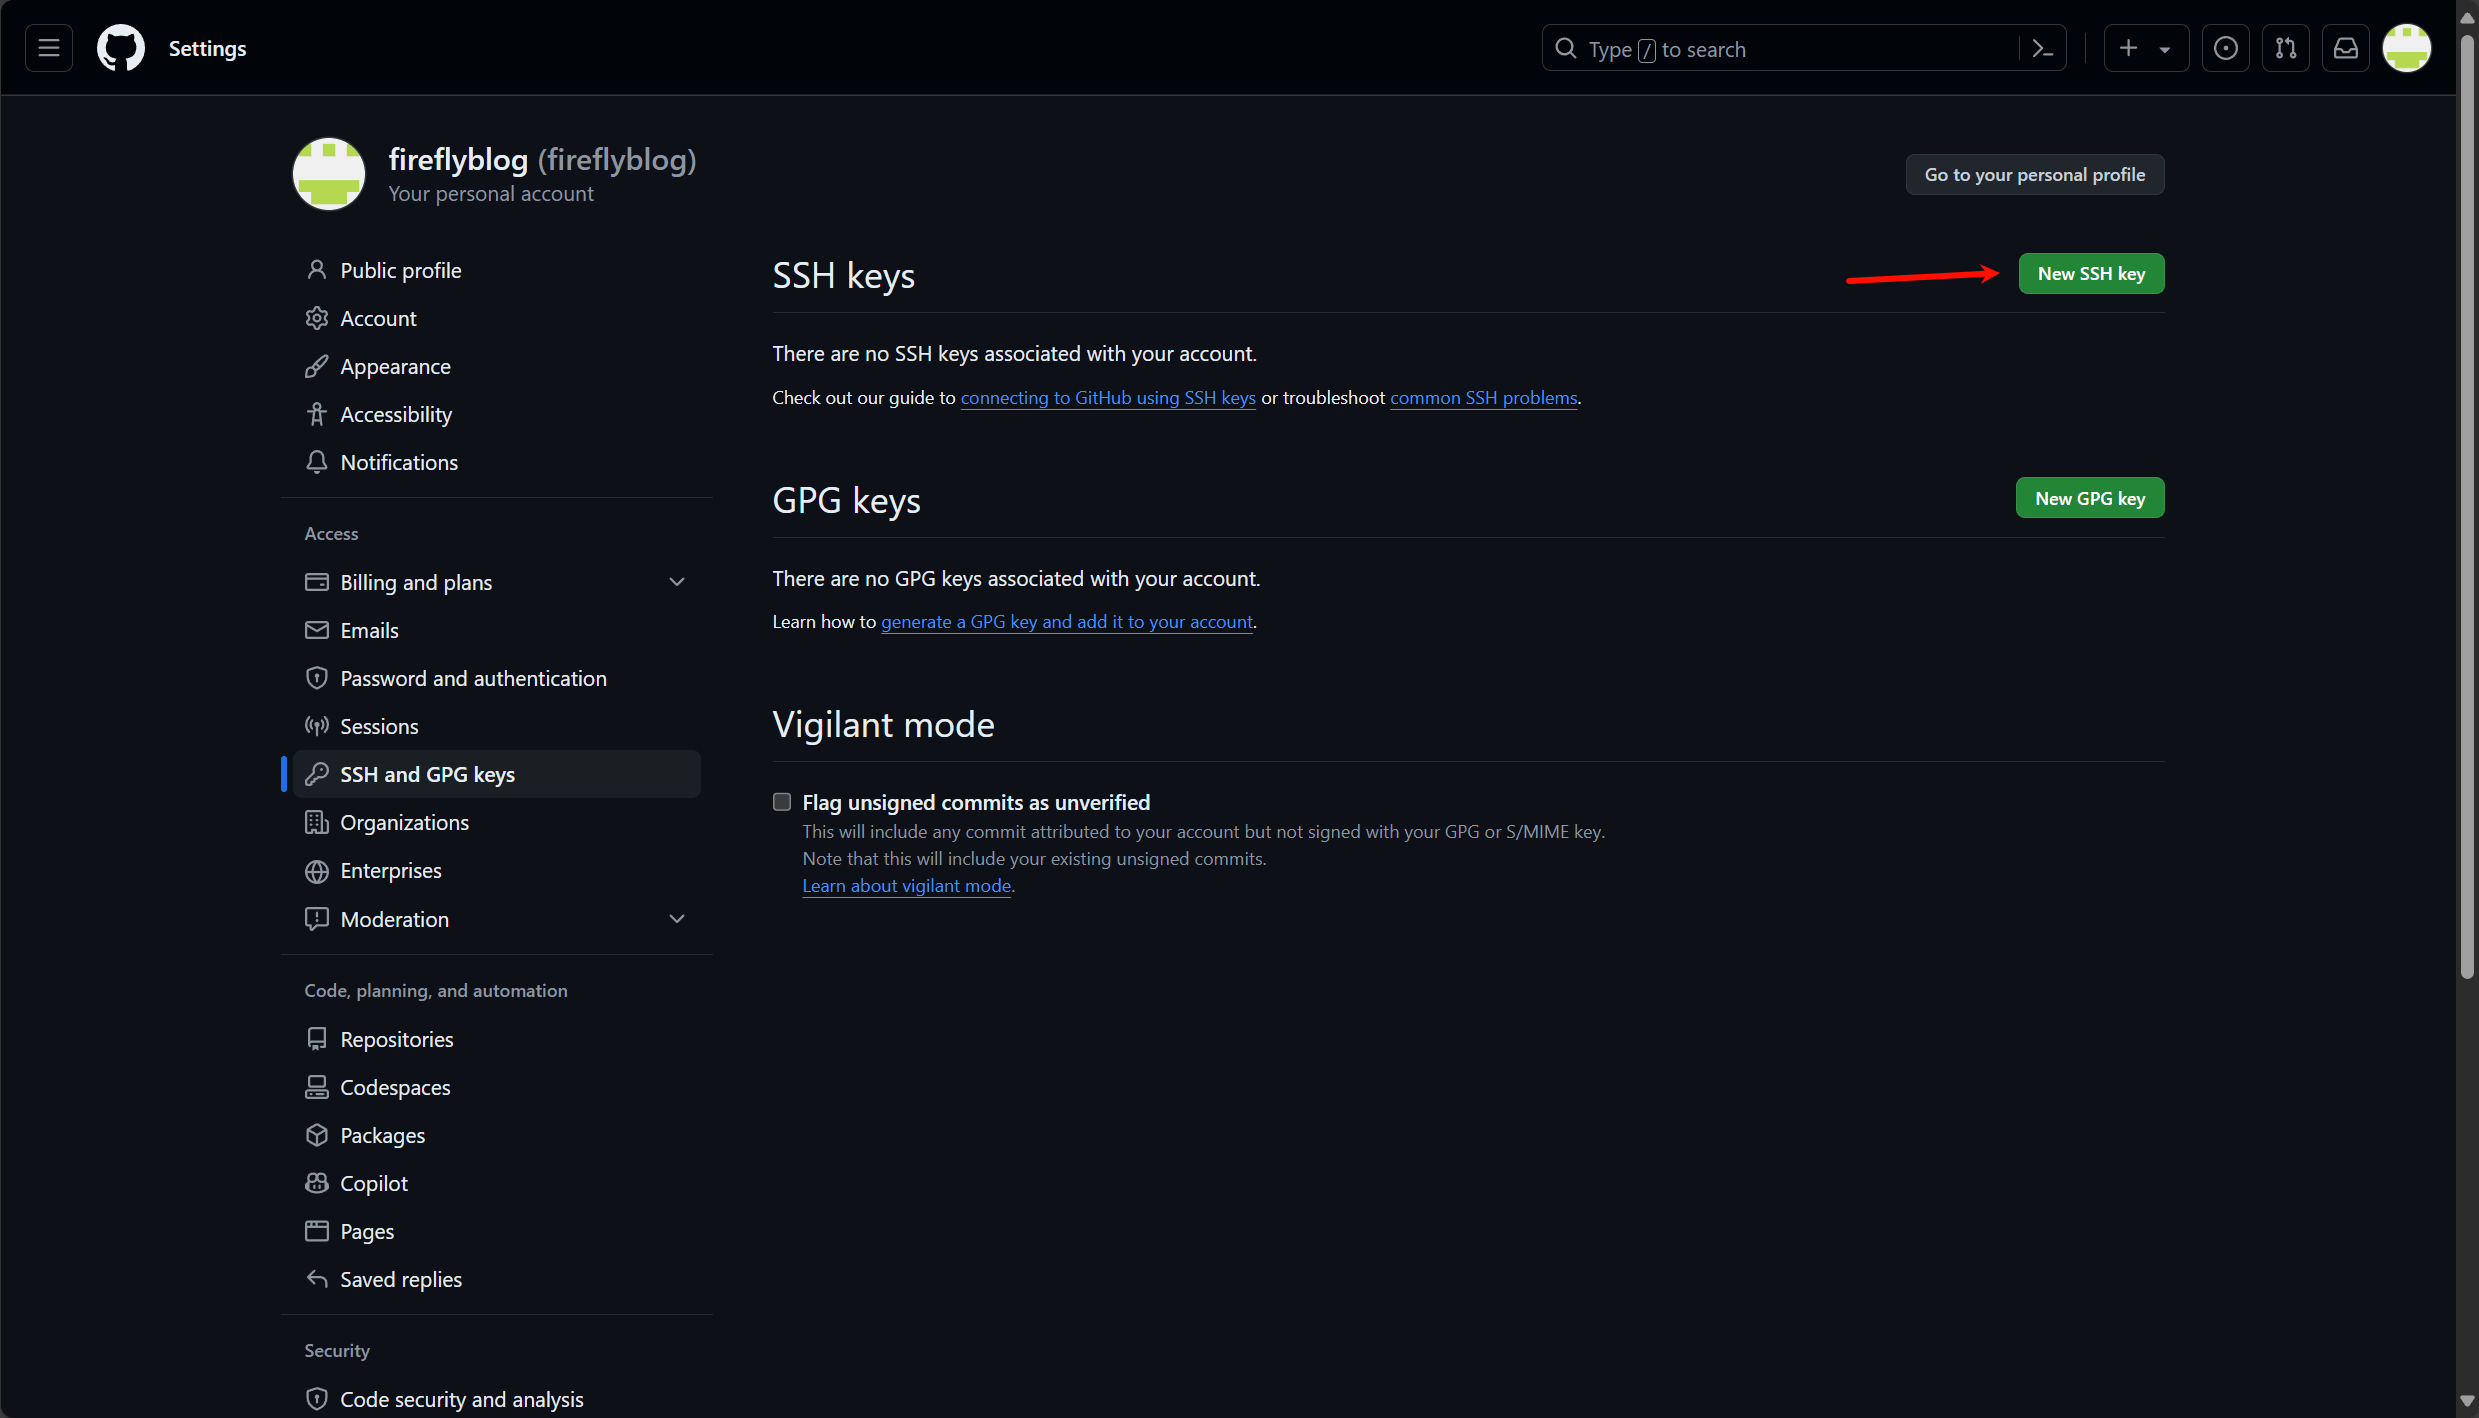
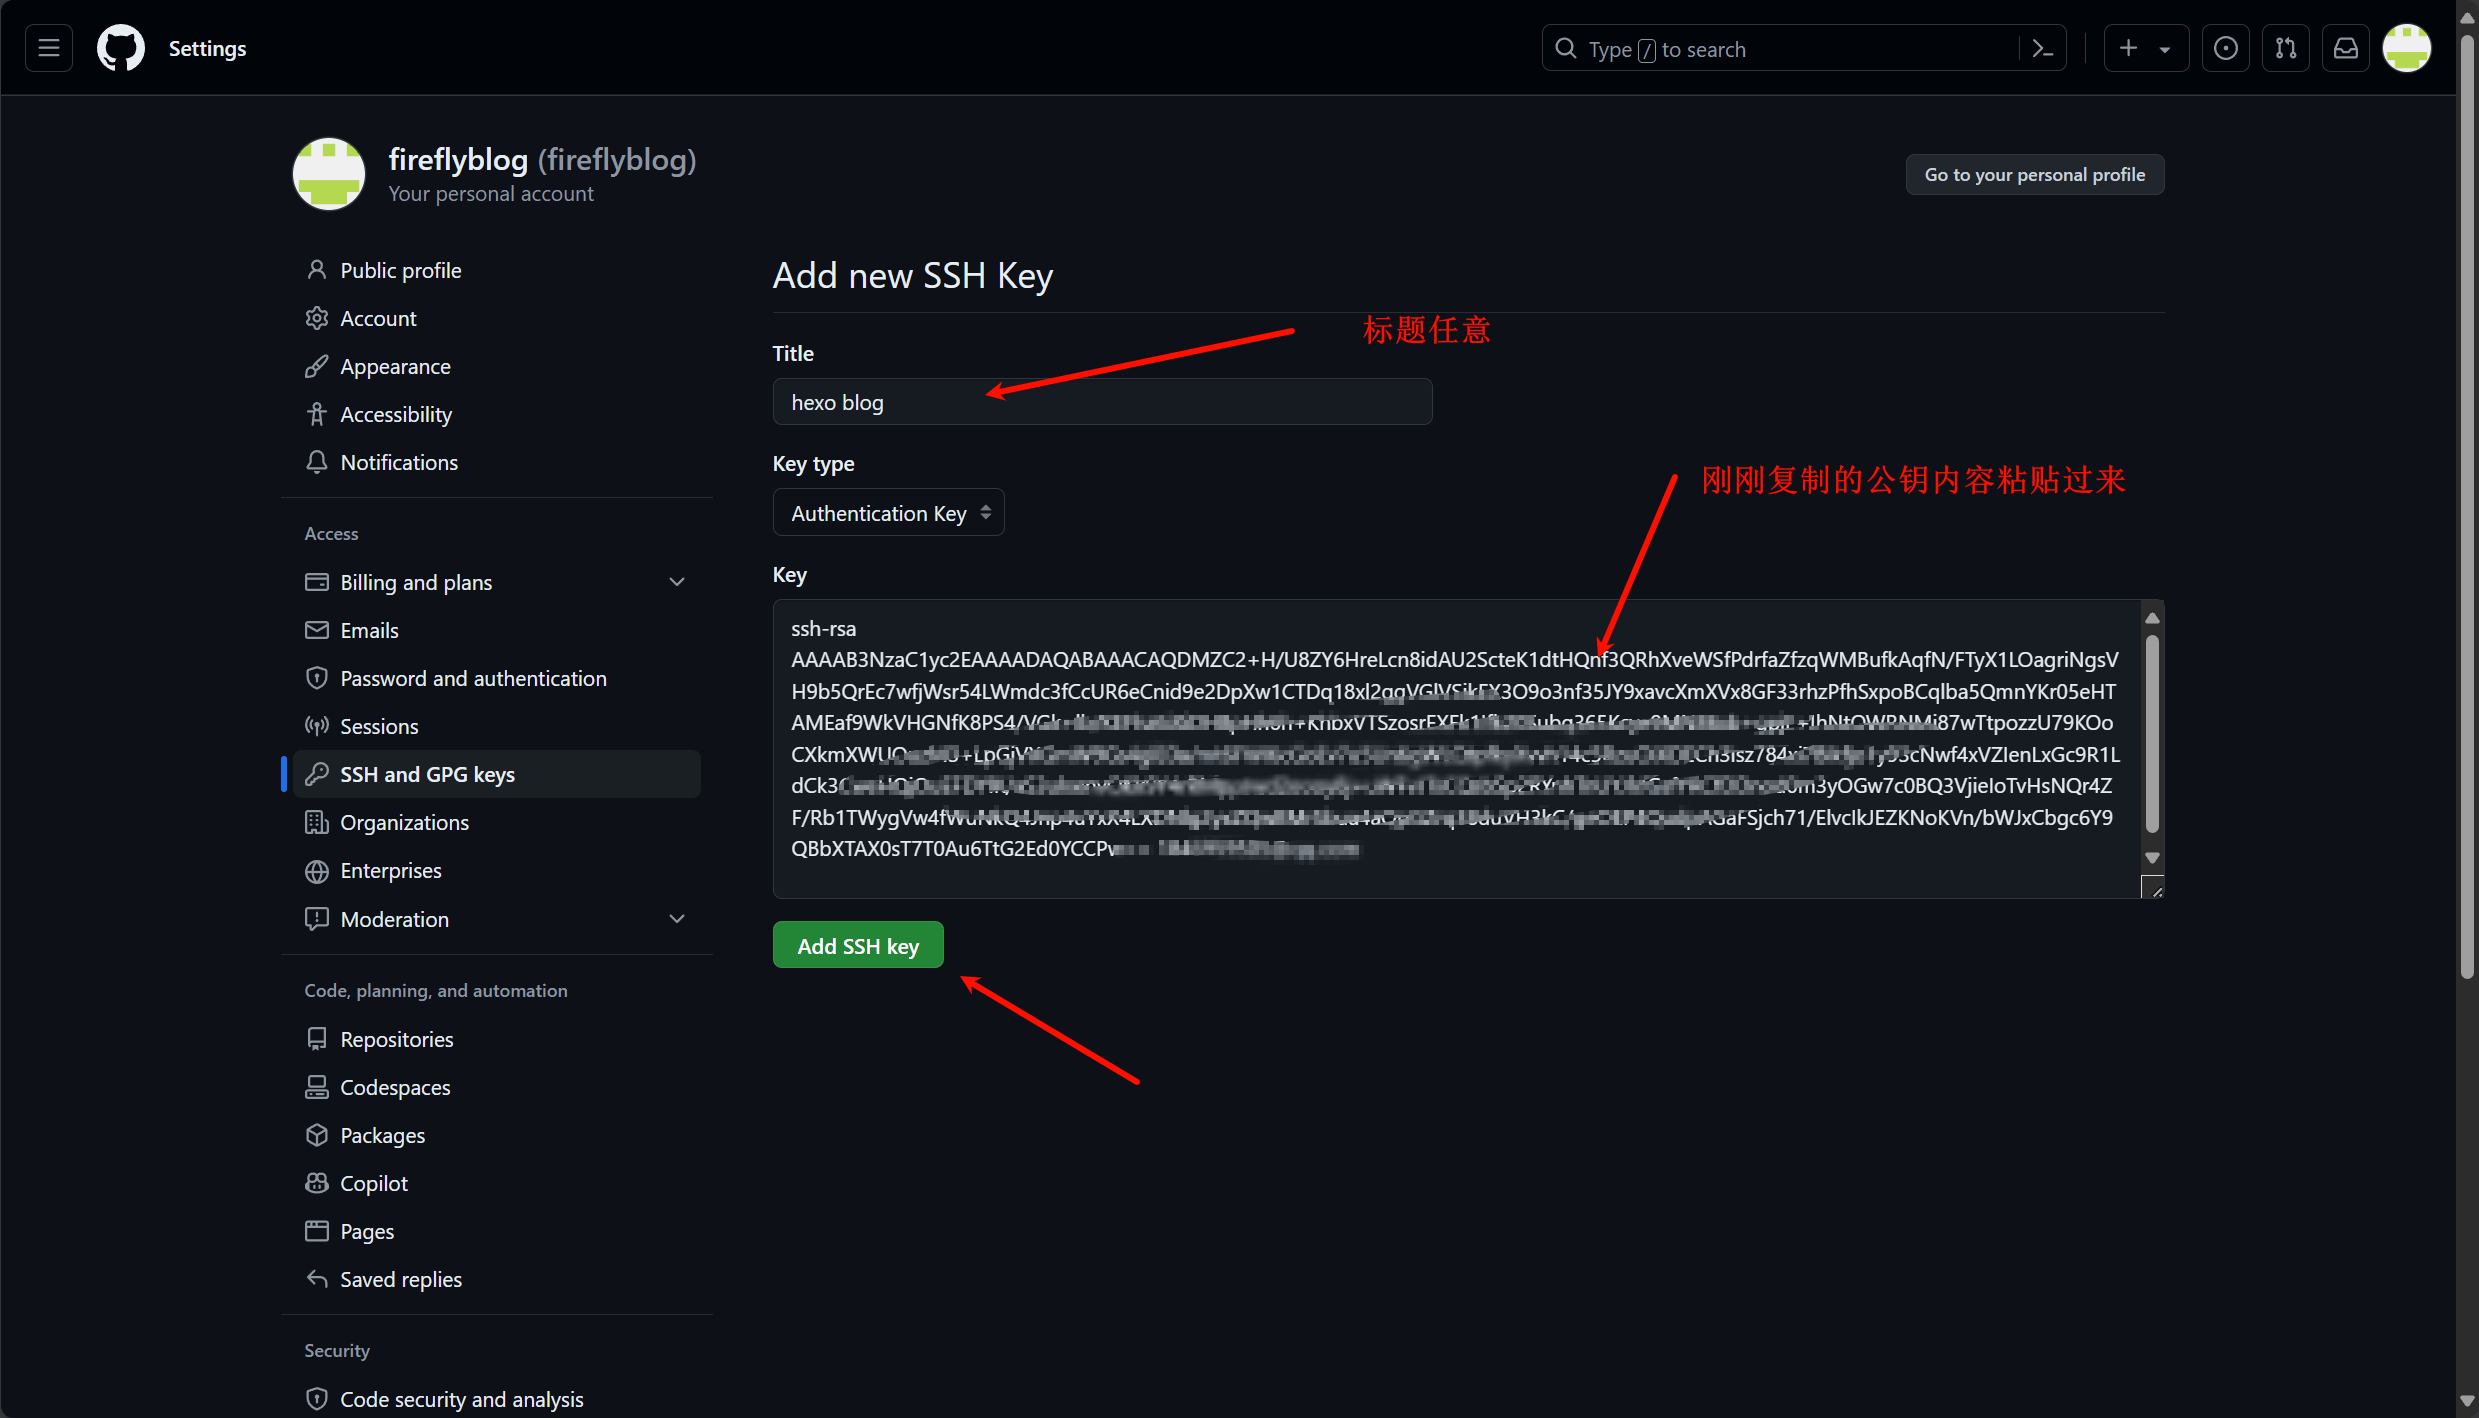
复制好后, 返回Github

GitHub 个人设置入口 GitHub SSH and GPG keys 设置页 GitHub 新建 SSH 密钥入口 GitHub SSH 公钥填写界面

密钥添加完成

5. 安装上传插件

打开上文初始化的hexo目录, 右键选择open git bash here

或者 直接打开git bash 输入cd f:\web. 路径替换为自己的路径.

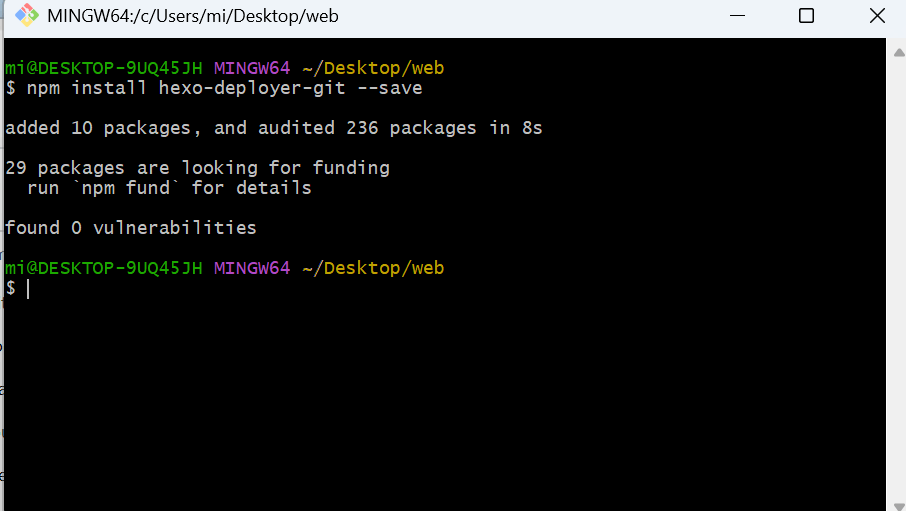
然后输入下面的命令安装插件到目录下

1
npm install hexo-deployer-git --save
安装 hexo-deployer-git 插件

安装完成

6. 更改配置

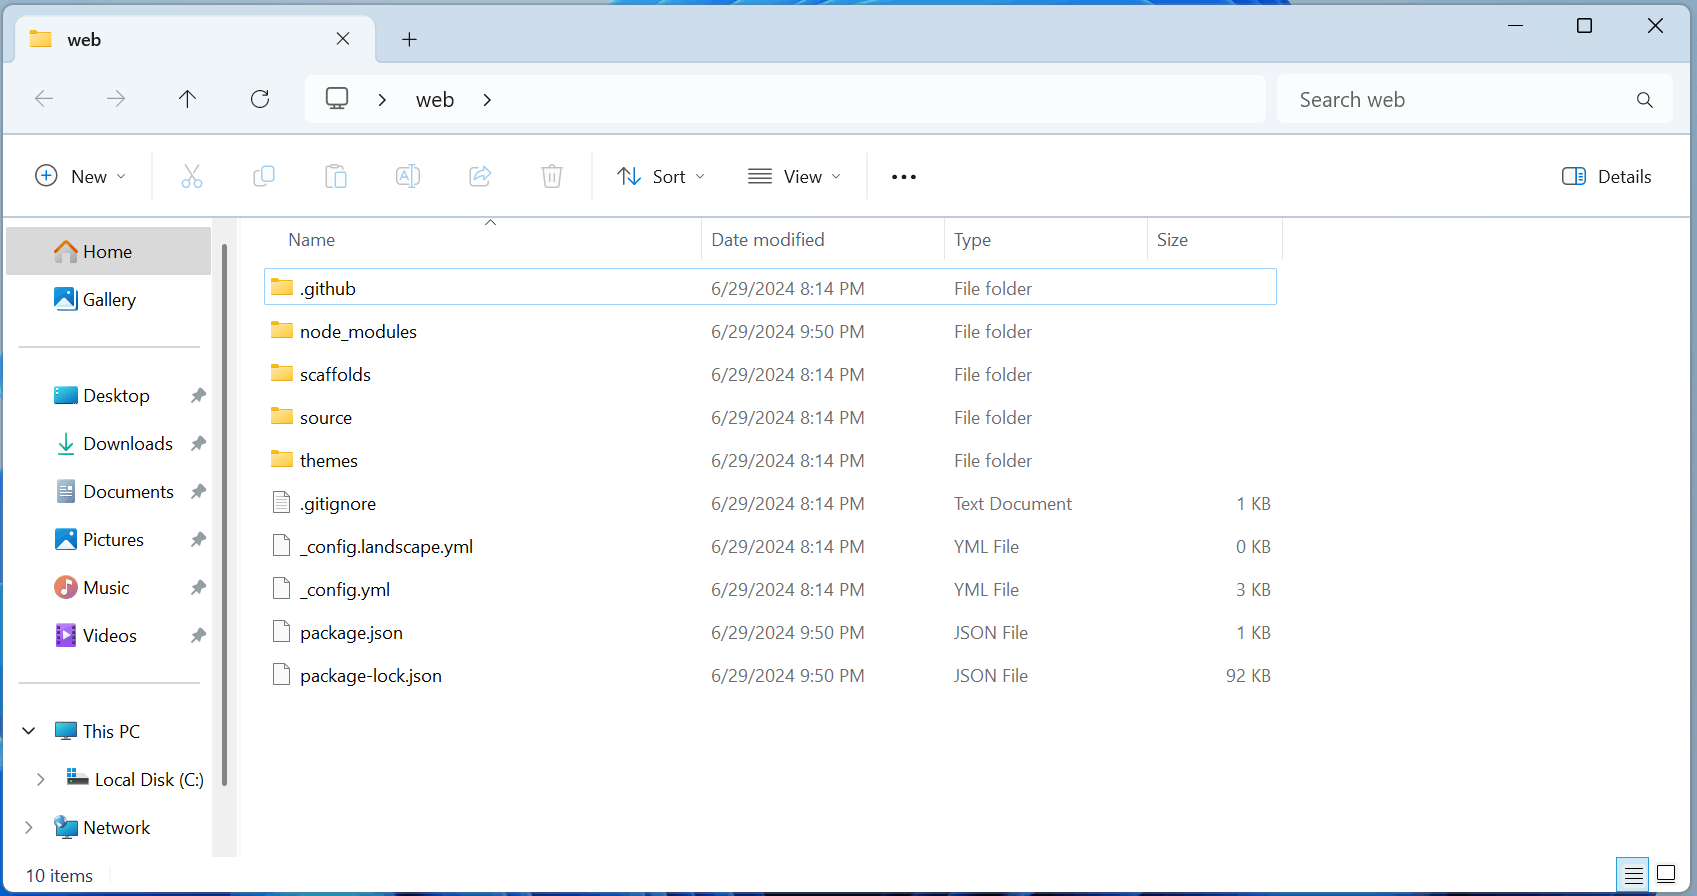
打开网站文件夹

Hexo 项目目录结构

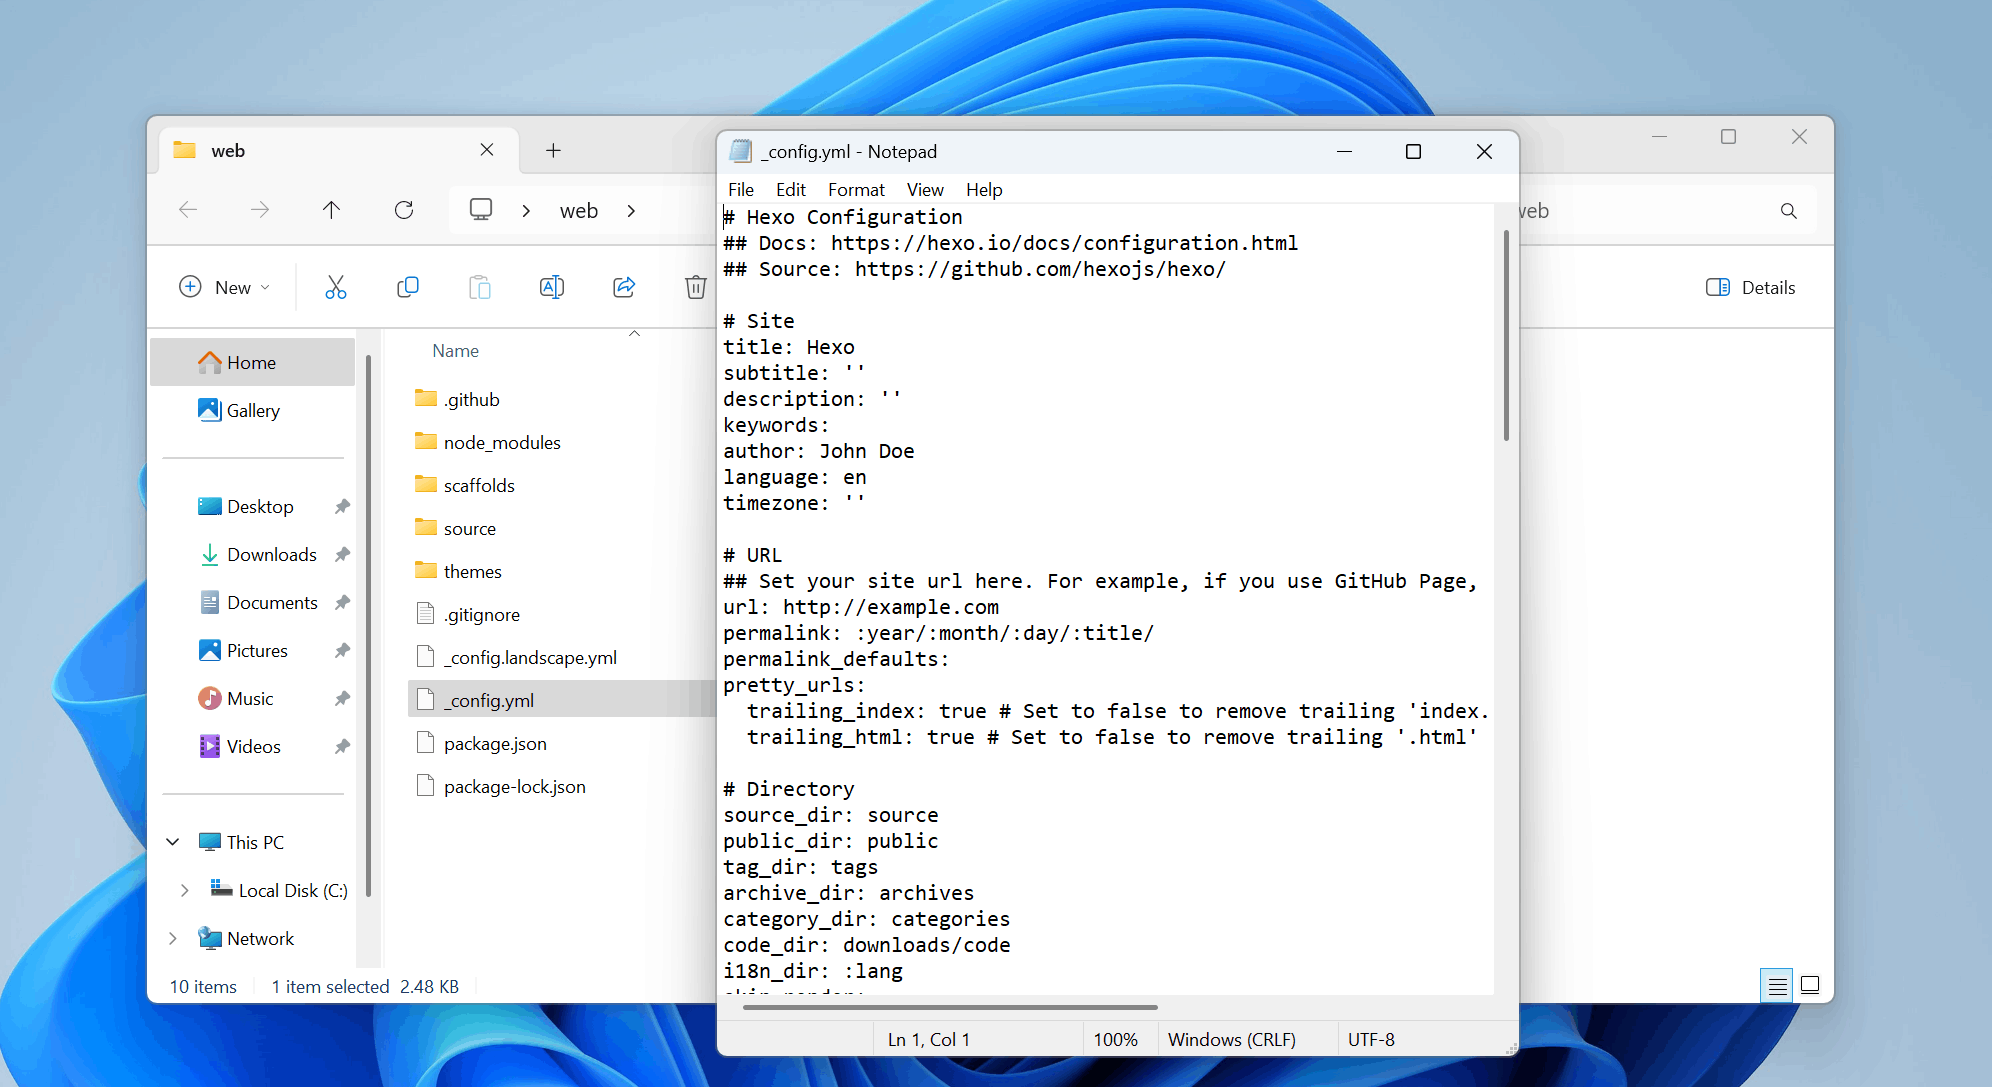
用记事本或VSCode等编辑软件打开_config.yml

编辑 Hexo 配置文件
1
2
3
4
5
6
7
8
9
10
11
12
13
14
15
16
17
18
19
20
21
22
23
24
25
26
27
28
29
30
31
32
33
34
35
36
37
38
39
40
41
42
43
44
45
46
47
48
49
50
51
52
53
54
55
56
57
58
59
60
61
62
63
64
65
66
67
68
69
70
71
72
73
74
75
76
77
78
79
80
81
82
83
84
85
86
87
88
89
90
91
92
93
94
95
96
97
98
99
100
101
102
103
104
105
106
107
108
# 配置说明, 不要复制. 按说明修改


# Hexo Configuration
## Docs: https://hexo.io/docs/configuration.html
## Source: https://github.com/hexojs/hexo/

# Site
title: Hexo # 网站的大标题
subtitle: '' # 副标题
description: '' # 描述
keywords: # 网站的关键词
author: John Doe # 作者
language: en # 语言 中文 zh-CN
timezone: '' # 时区 Asia/Shanghai

# URL
## Set your site url here. For example, if you use GitHub Page, set url as 'https://username.github.io/project'
url: https://fireflyblog.github.io # 改成自己网址 https://用户名.github.io # 注意是https
permalink: :year/:month/:day/:title/ # 其他默认转到最后一项
permalink_defaults:
pretty_urls:
trailing_index: true # Set to false to remove trailing 'index.html' from permalinks
trailing_html: true # Set to false to remove trailing '.html' from permalinks

# Directory
source_dir: source
public_dir: public
tag_dir: tags
archive_dir: archives
category_dir: categories
code_dir: downloads/code
i18n_dir: :lang
skip_render:

# Writing
new_post_name: :title.md # File name of new posts
default_layout: post
titlecase: false # Transform title into titlecase
external_link:
enable: true # Open external links in new tab
field: site # Apply to the whole site
exclude: ''
filename_case: 0
render_drafts: false
post_asset_folder: false
relative_link: false
future: true
syntax_highlighter: highlight.js
highlight:
line_number: true
auto_detect: false
tab_replace: ''
wrap: true
hljs: false
prismjs:
preprocess: true
line_number: true
tab_replace: ''

# Home page setting
# path: Root path for your blogs index page. (default = '')
# per_page: Posts displayed per page. (0 = disable pagination)
# order_by: Posts order. (Order by date descending by default)
index_generator:
path: ''
per_page: 10
order_by: -date

# Category & Tag
default_category: uncategorized
category_map:
tag_map:

# Metadata elements
## https://developer.mozilla.org/en-US/docs/Web/HTML/Element/meta
meta_generator: true

# Date / Time format
## Hexo uses Moment.js to parse and display date
## You can customize the date format as defined in
## http://momentjs.com/docs/#/displaying/format/
date_format: YYYY-MM-DD
time_format: HH:mm:ss
## updated_option supports 'mtime', 'date', 'empty'
updated_option: 'mtime'

# Pagination
## Set per_page to 0 to disable pagination
per_page: 10
pagination_dir: page

# Include / Exclude file(s)
## include:/exclude: options only apply to the 'source/' folder
include:
exclude:
ignore:

# Extensions
## Plugins: https://hexo.io/plugins/
## Themes: https://hexo.io/themes/
theme: landscape

# Deployment
## Docs: https://hexo.io/docs/one-command-deployment
deploy:
type: ''

这一部分单拿出来修改(注意缩进为2个空格, 冒号后面一个空格)

1
2
3
4
5
6
# Deployment
## Docs: https://hexo.io/docs/one-command-deployment
deploy:
type: git
repository:
branch: main

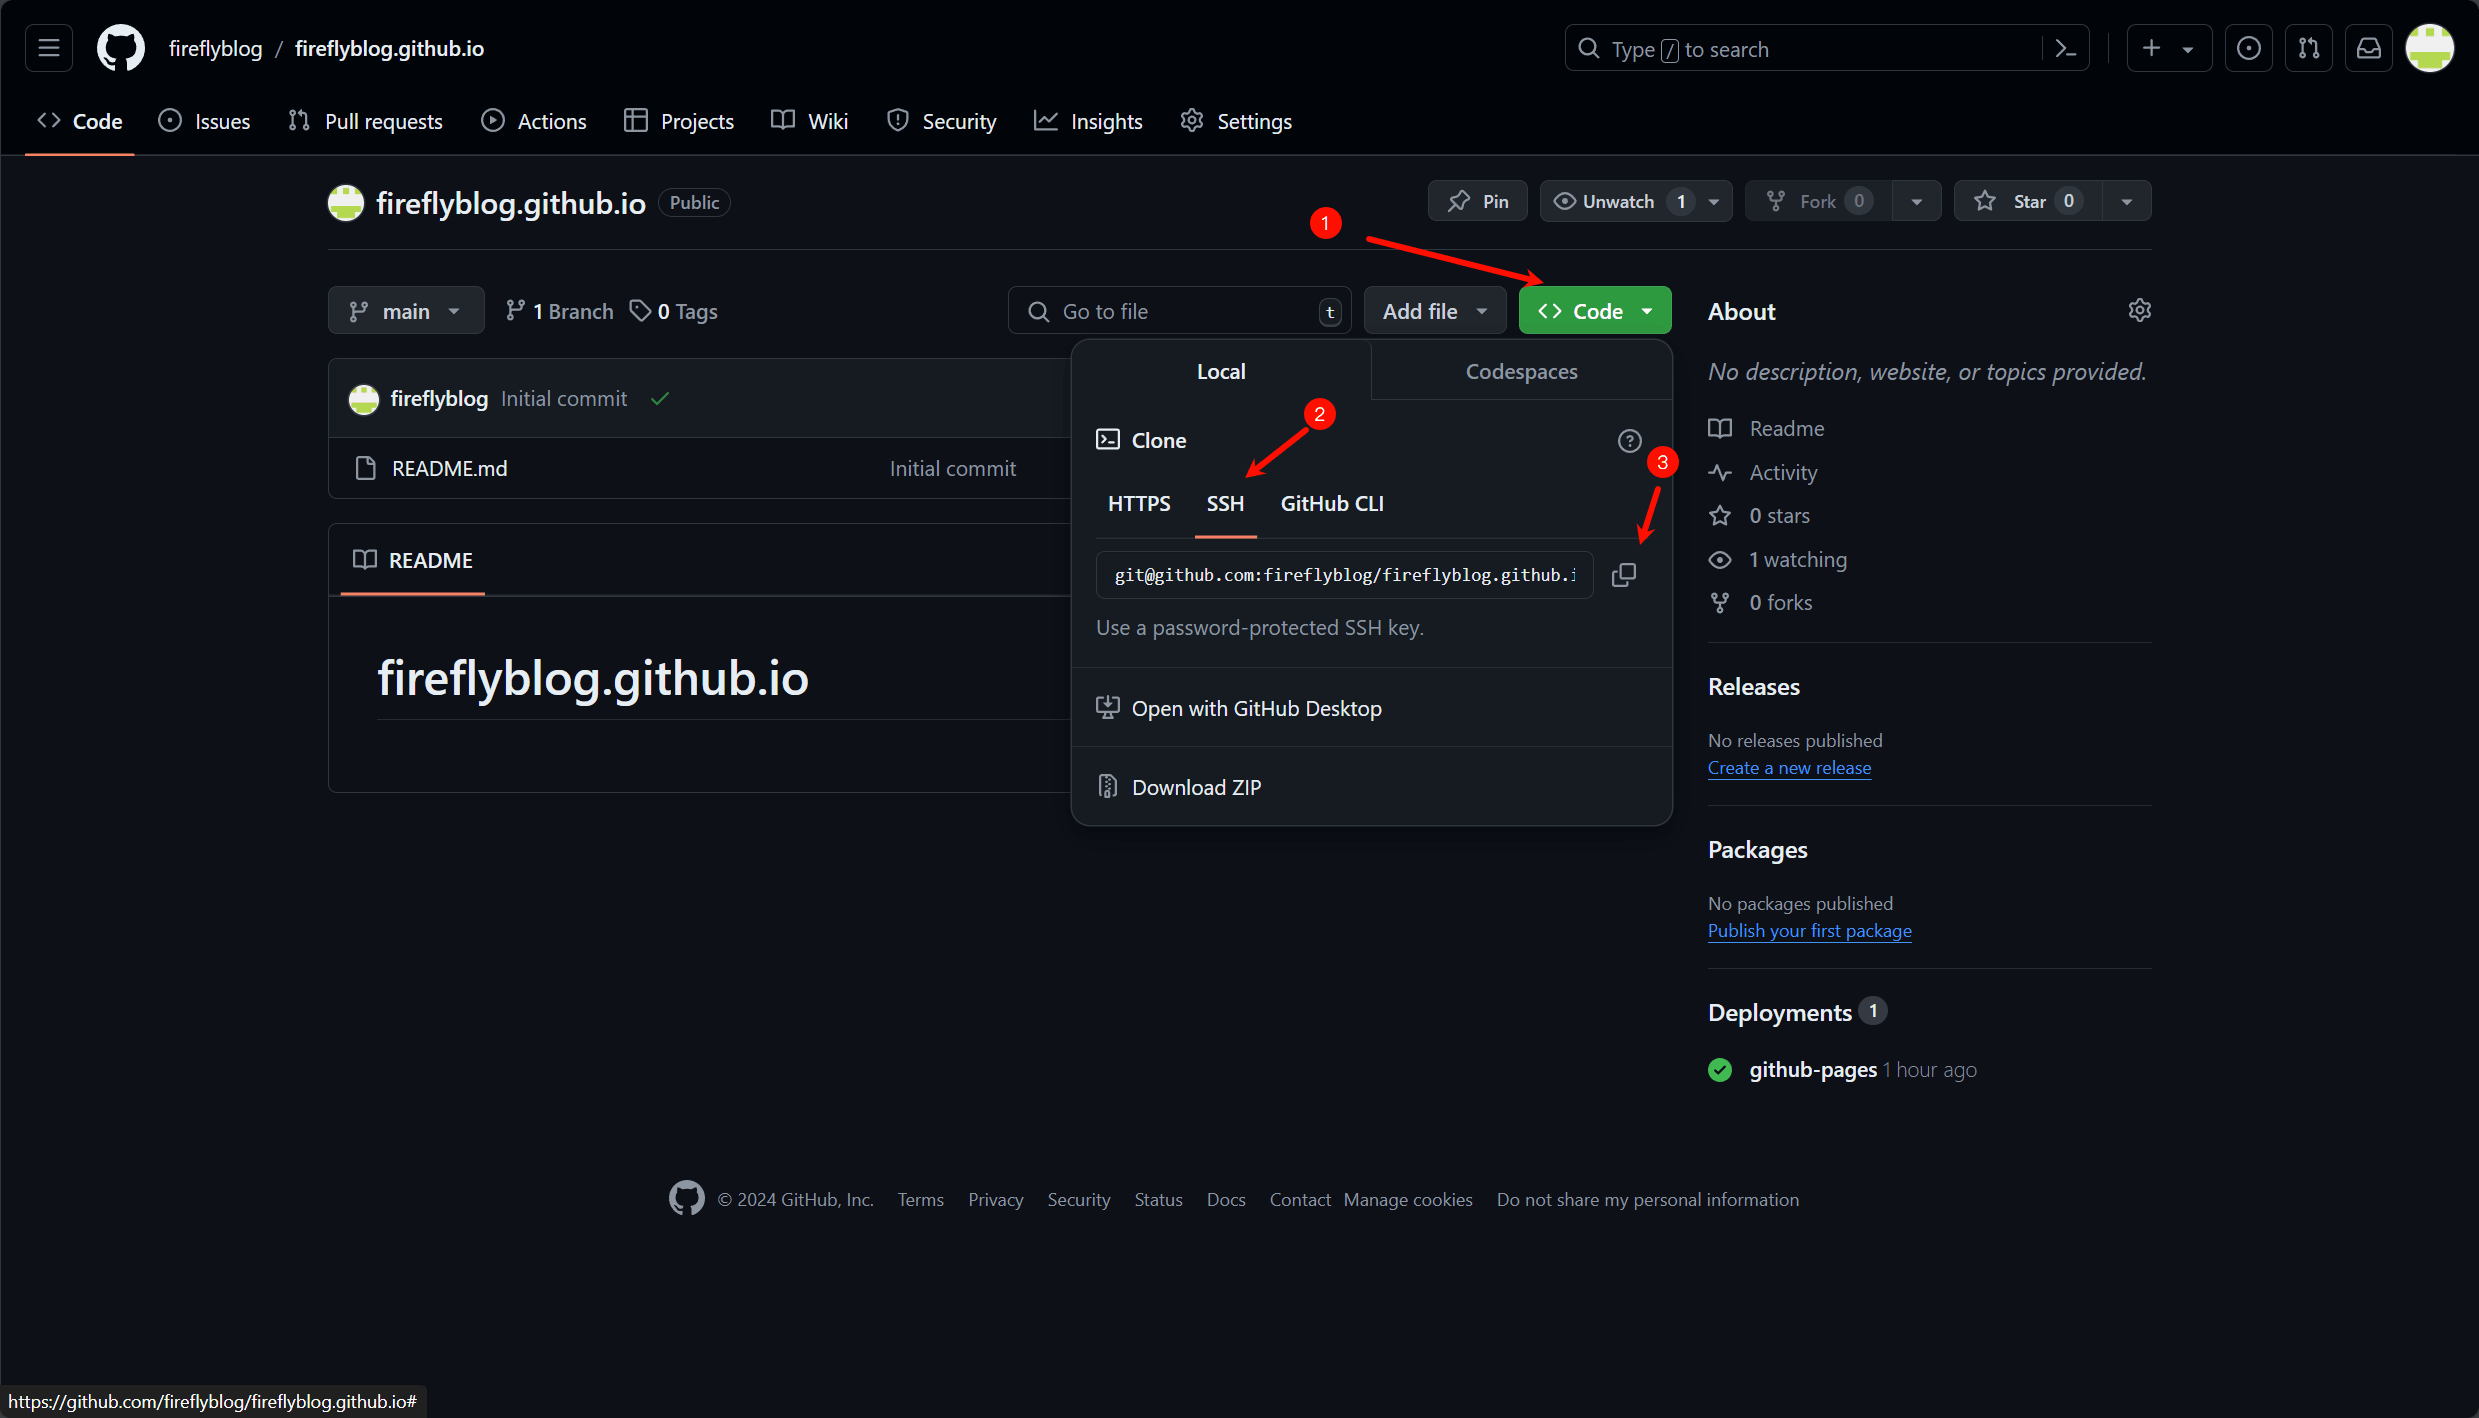
仓库地址在Github, 打开找到自己的仓库

复制 GitHub 仓库 SSH 地址

复制好后粘贴到仓库参数后面, 完整的配置修改如下

1
2
3
4
5
6
# Deployment
## Docs: https://hexo.io/docs/one-command-deployment
deploy:
type: git
repository: git@github.com:fireflyblog/fireflyblog.github.io.git #替换为自己的链接
branch: main

如果无法上传或分支报错可以使用以下样式:

1
2
3
4
5
6
# Deployment
## Docs: https://hexo.io/docs/one-command-deployment
deploy:
type: git
repo:
github: git@github.com:fireflyblog/fireflyblog.github.io.git,main #替换为自己的链接

7. 上传网页

一切配置好之后, 打开网站文件夹. 右键选择open git bash here

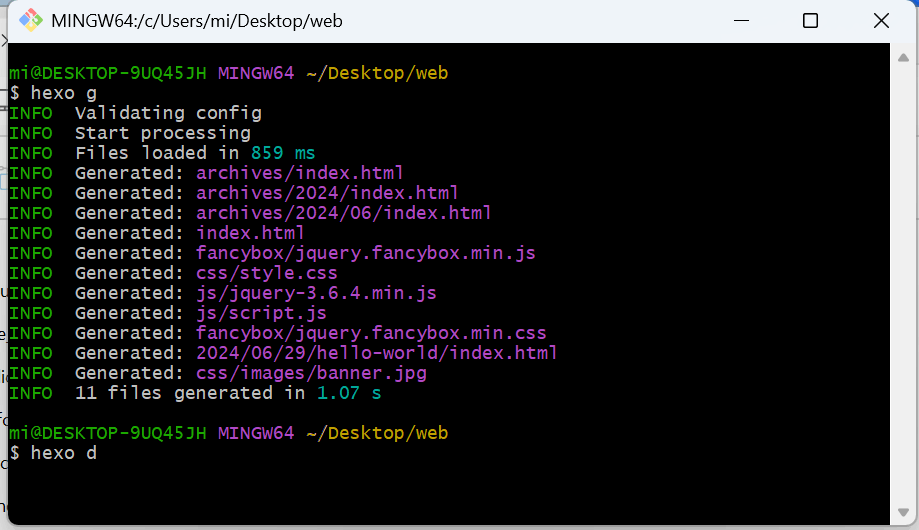
输入以下命令生成和上传网页

1
2
hexo g
hexo d
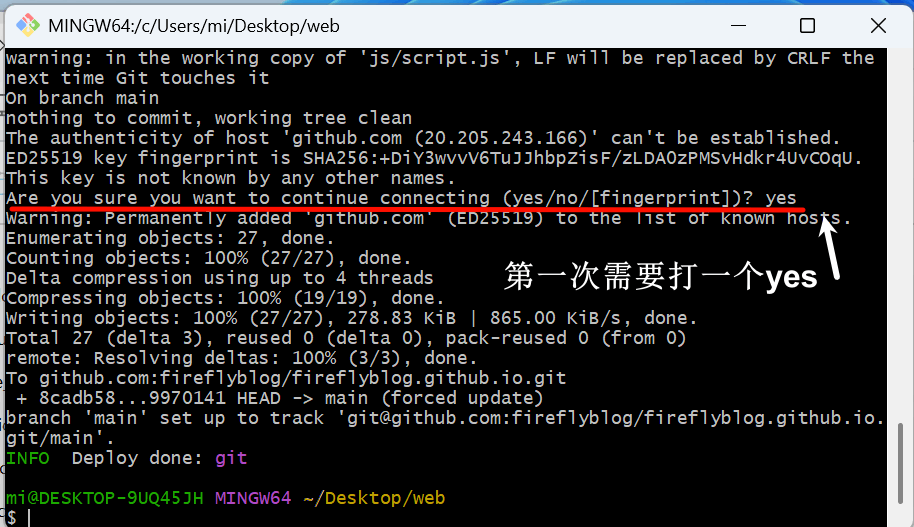
Hexo 生成静态站点的终端输出 首次通过 SSH 部署时确认主机指纹

上传成功之后, 等待一会. 就可以打开自己网页查看了(替换自己的用户名)

1
https://fireflyblog.github.io
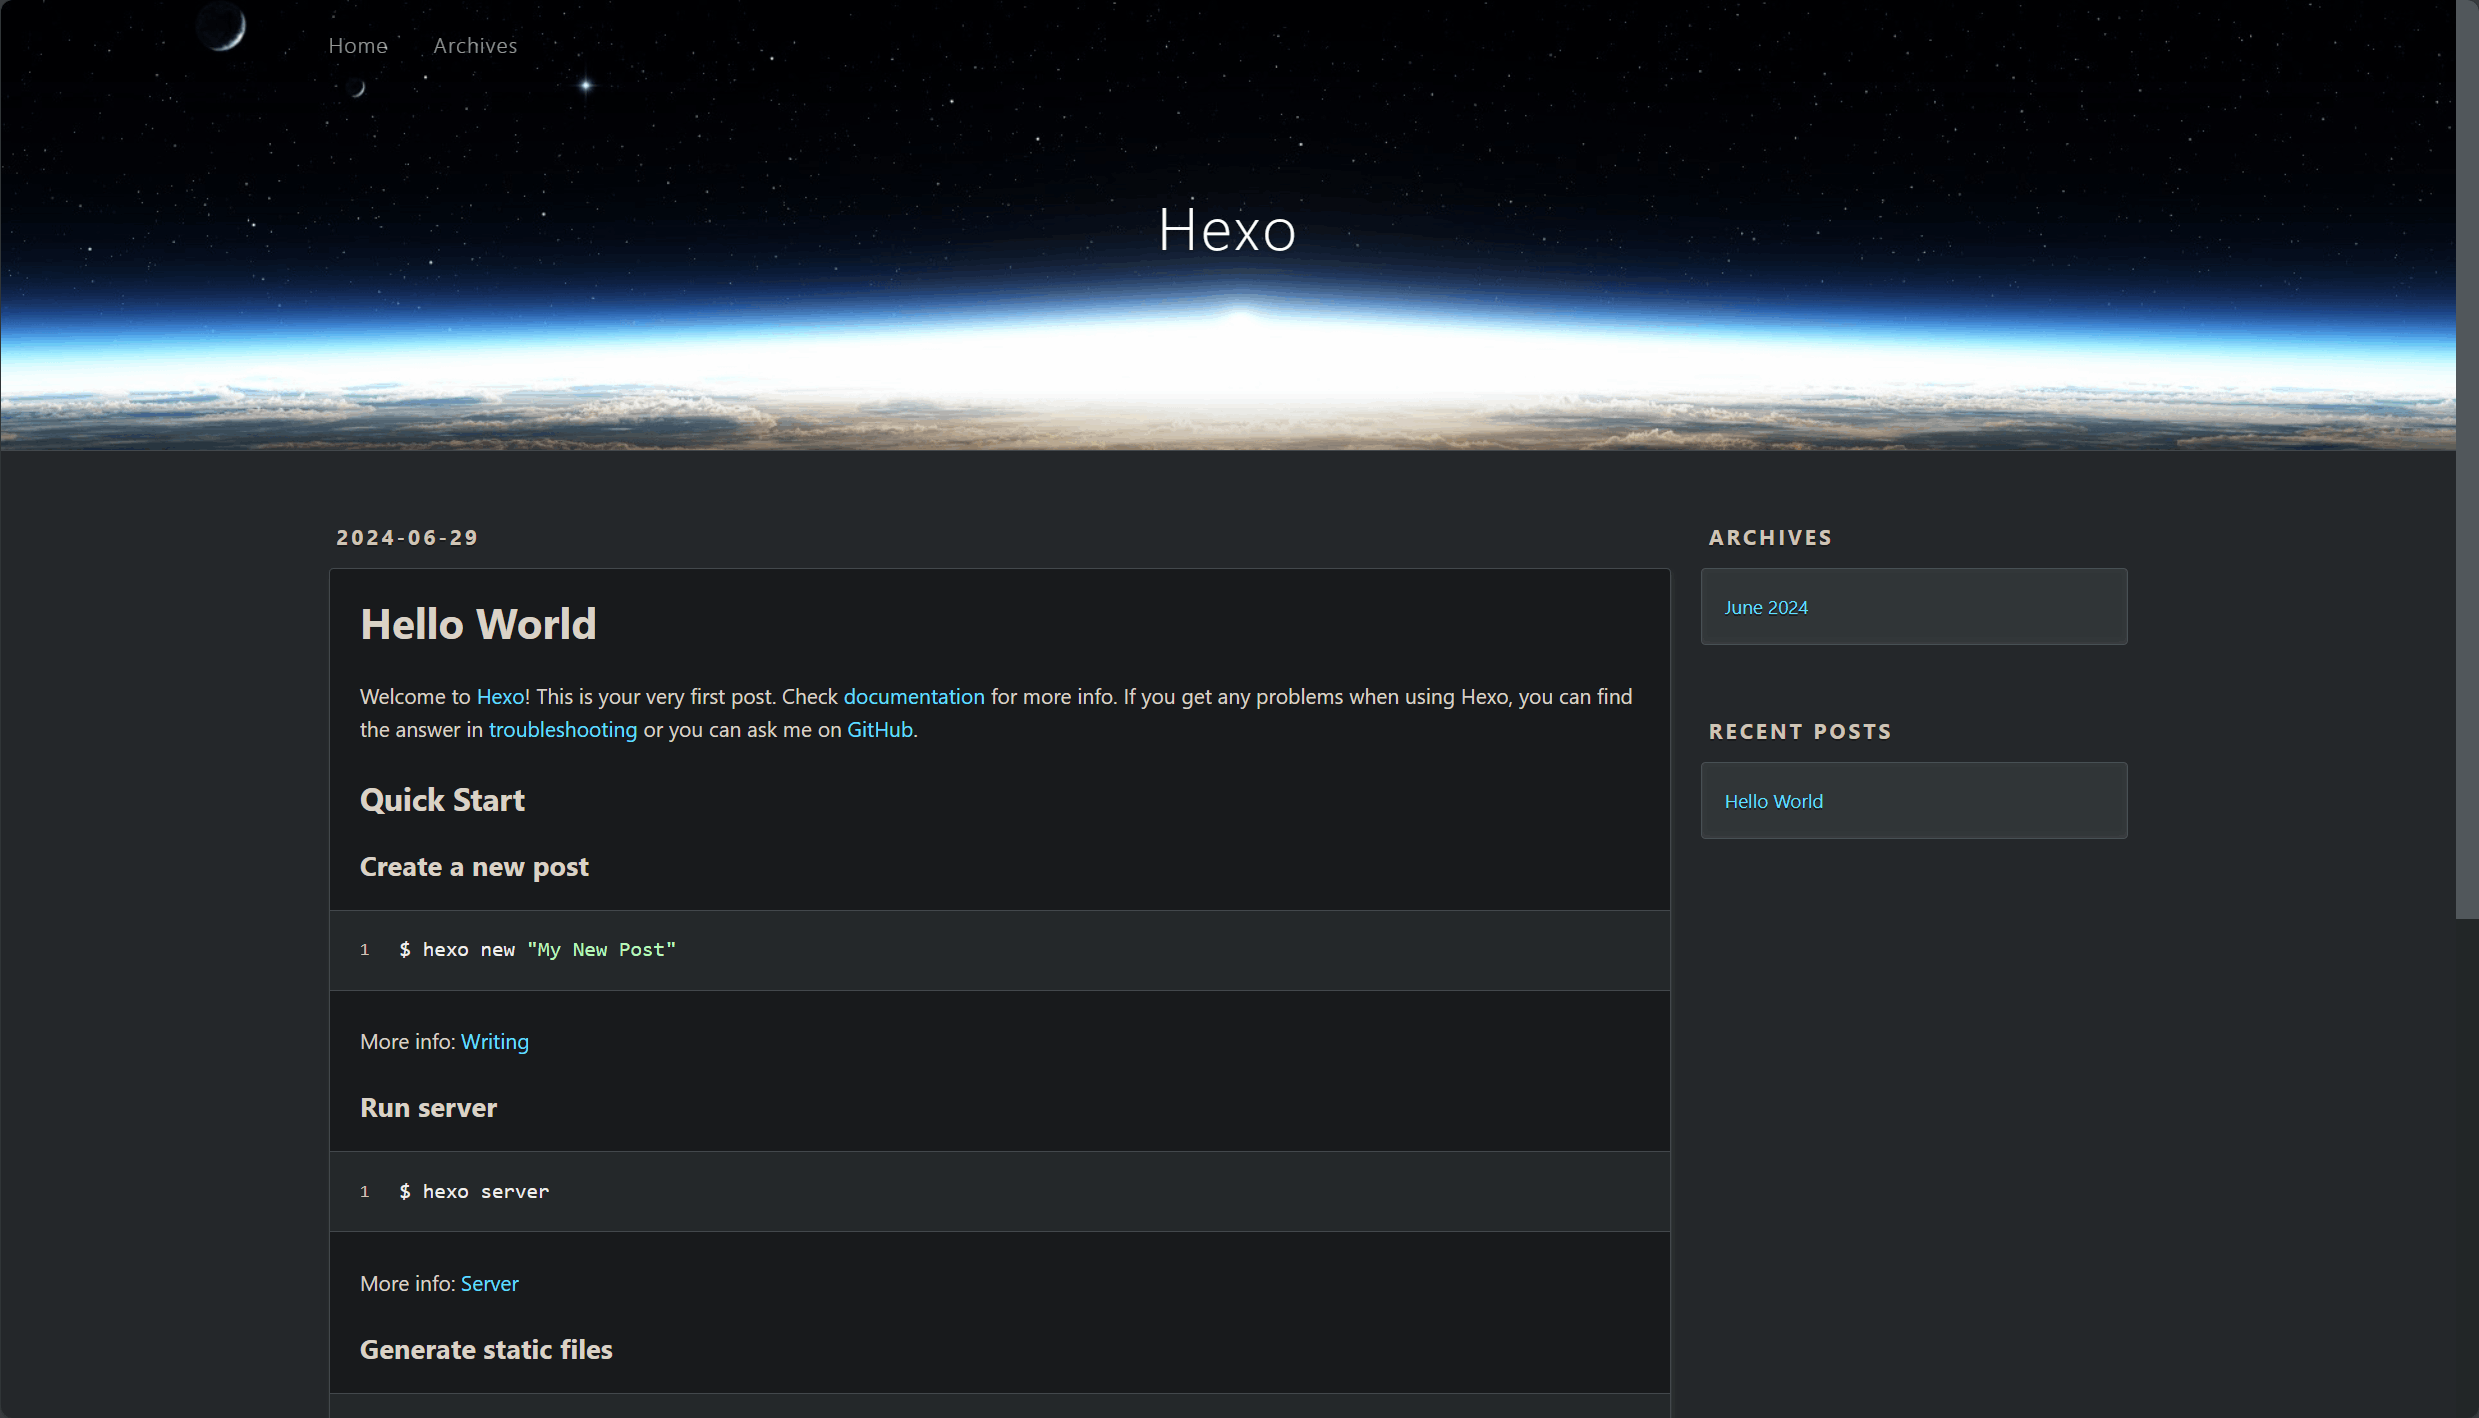
部署完成后的 Hexo 示例网站

至此, 网站已经搭建完成


还有一些其他常使用的命令

新建文章

1
hexo new "title"

本地部署预览

1
hexo s

清理生成文件(一般切换主题需要先清理再生成. 新建文章之类的不需要此操作.)

1
hexo clean

文章保存在

1
网站文件夹\source\_posts

文章格式说明以及主题美化待更新…