
Git 安装及配置教程
1. 下载安装包
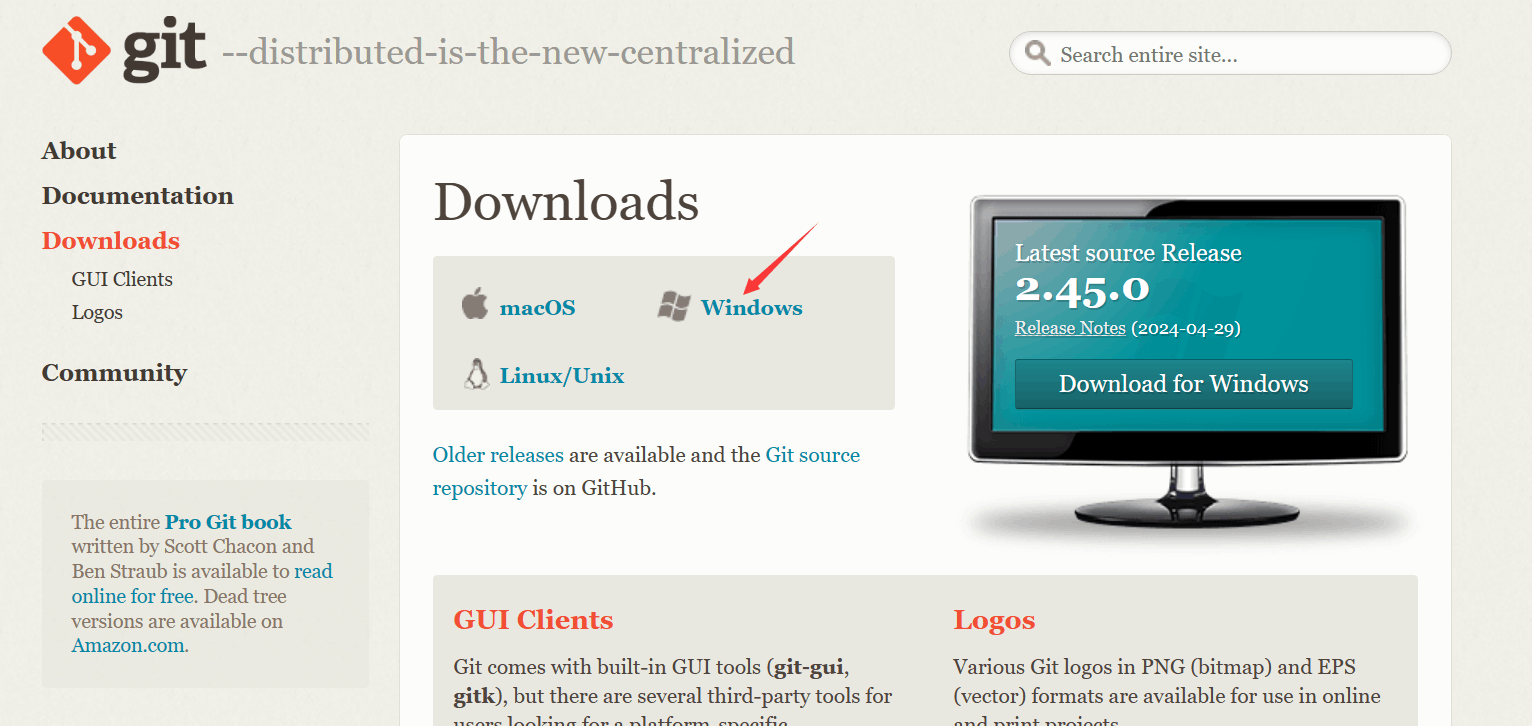
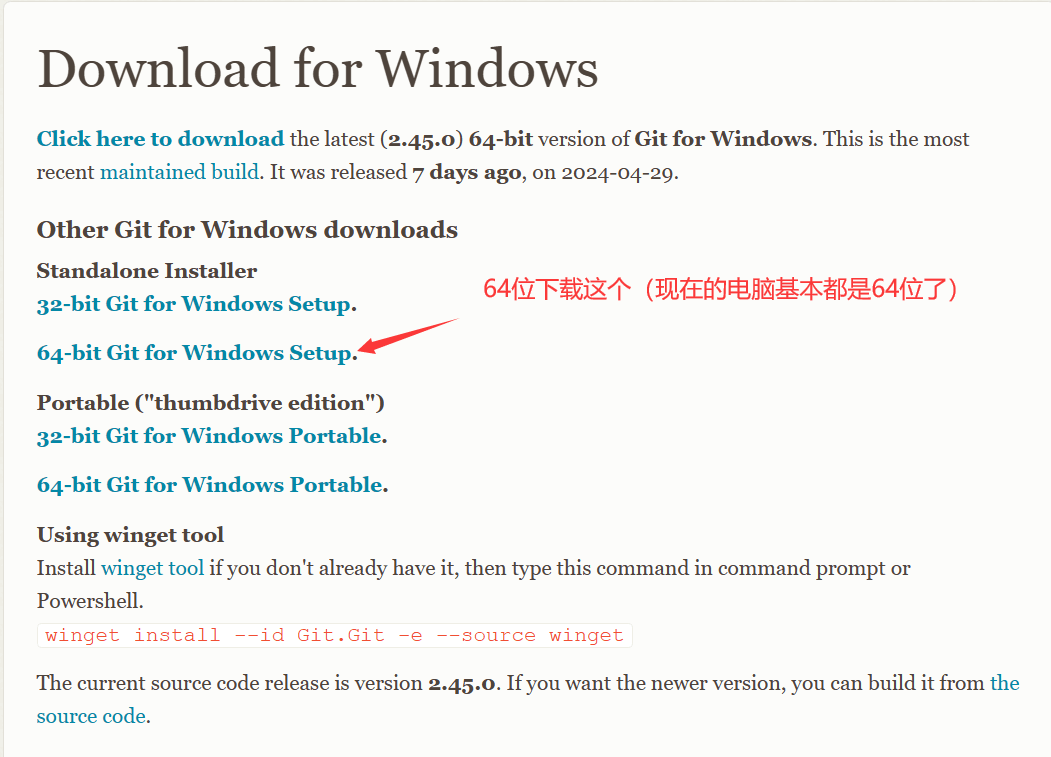
打开Git官网下载安装包, 嫌速度慢可以使用下面的链接下载
蓝奏云(不限速):https://wwt.lanzoul.com/b00rn0x92b 密码:gdo1
百度云(会员):https://pan.baidu.com/s/1QRxu8qYWI0rAOFqX9PT01g?pwd=1111 提取码: 1111
下载完成后,双击打开安装包
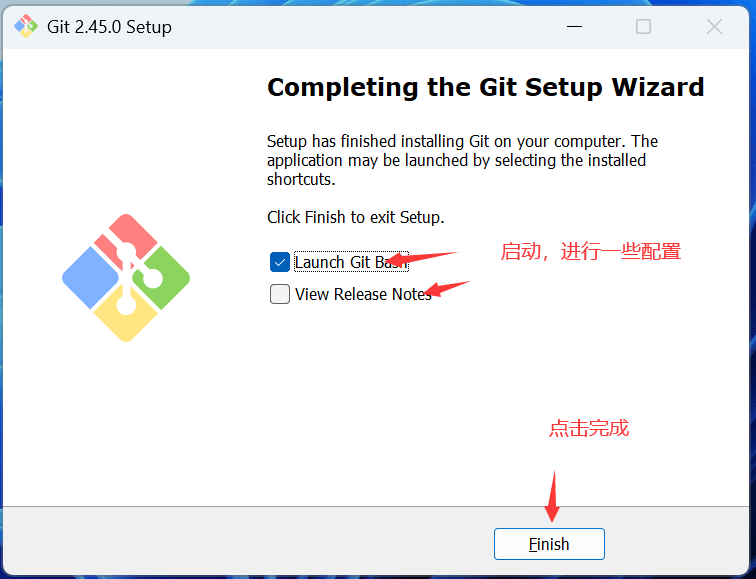
2. 开始安装
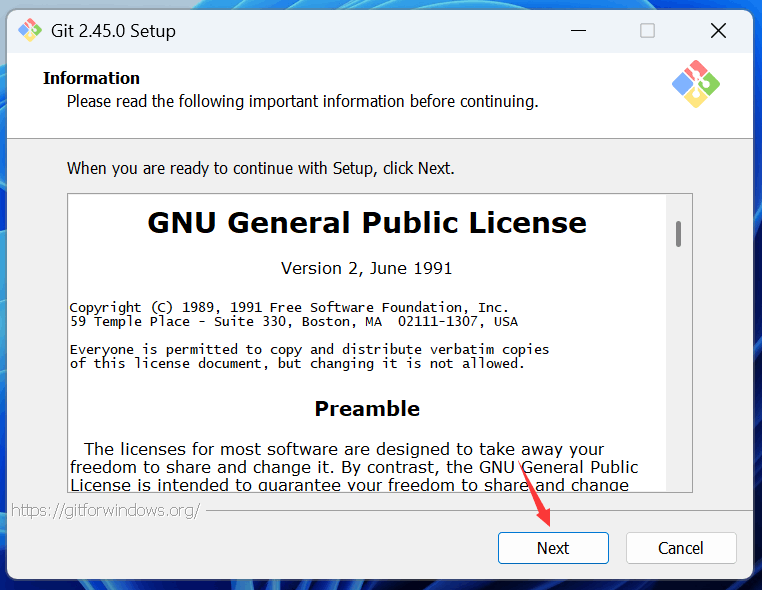
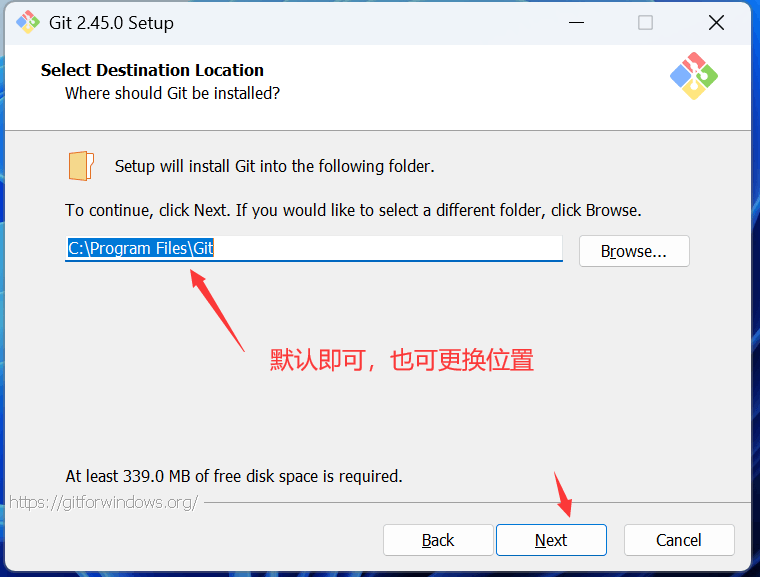
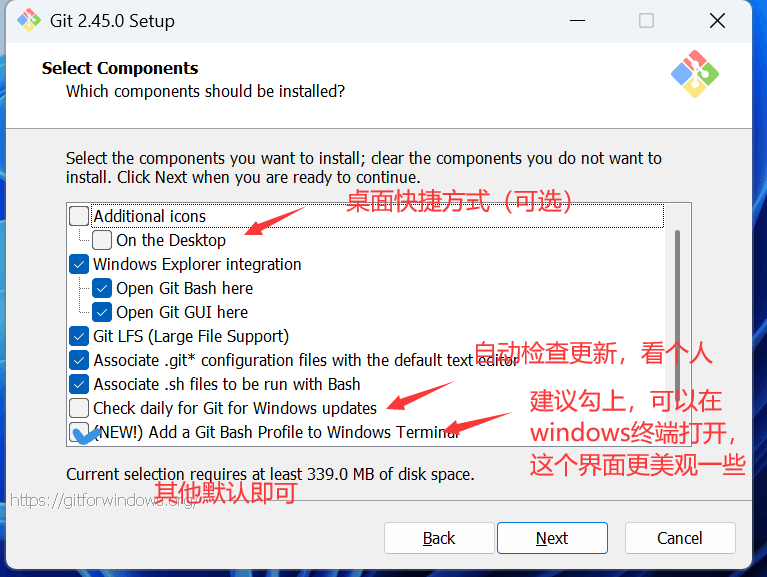
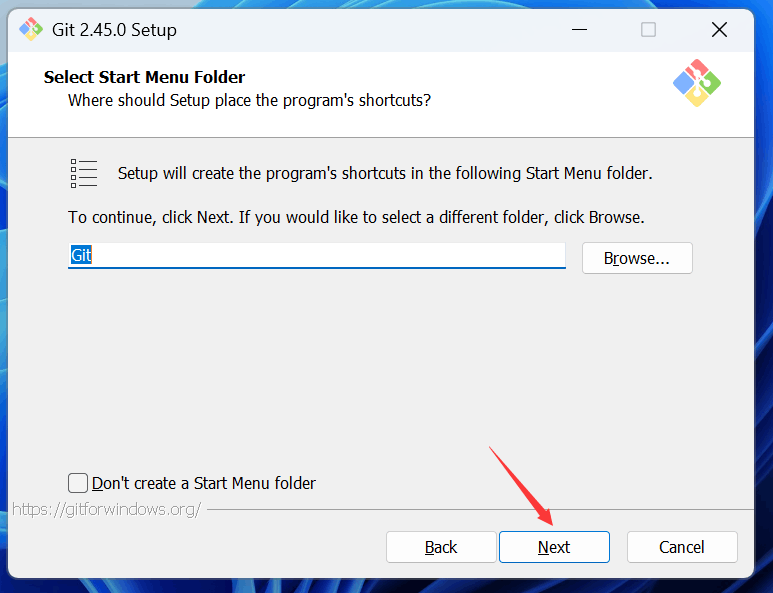
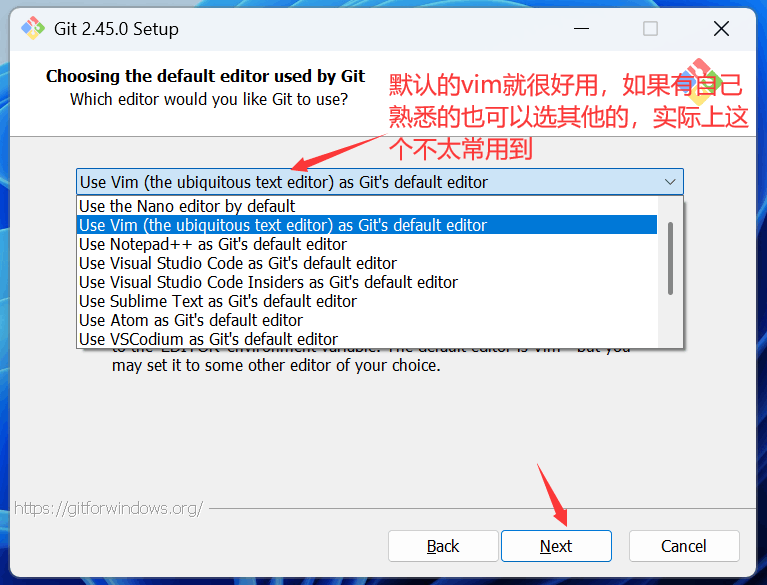
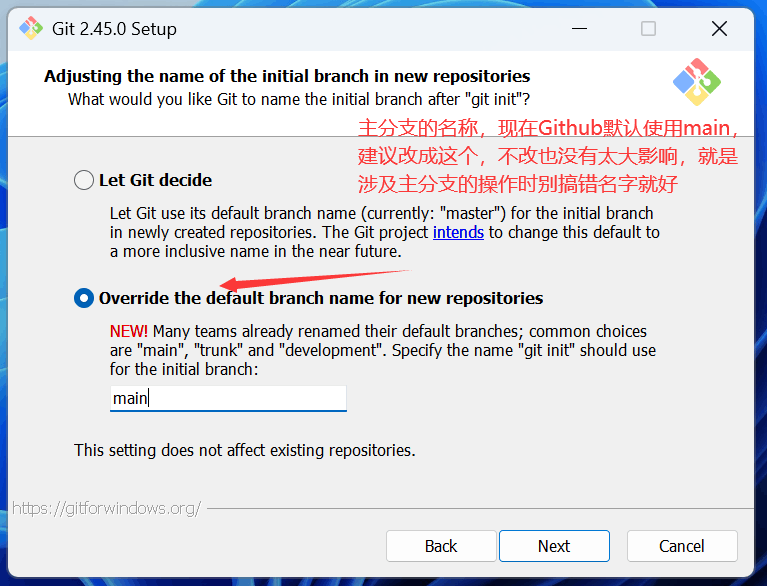
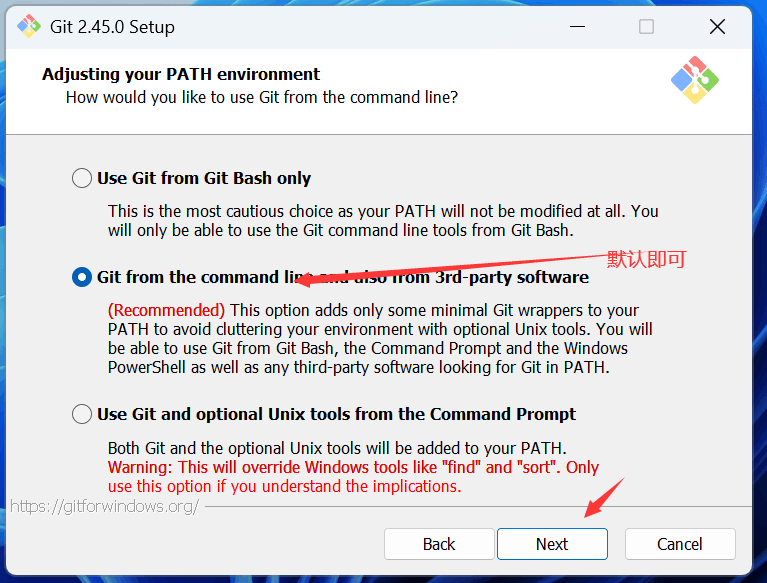
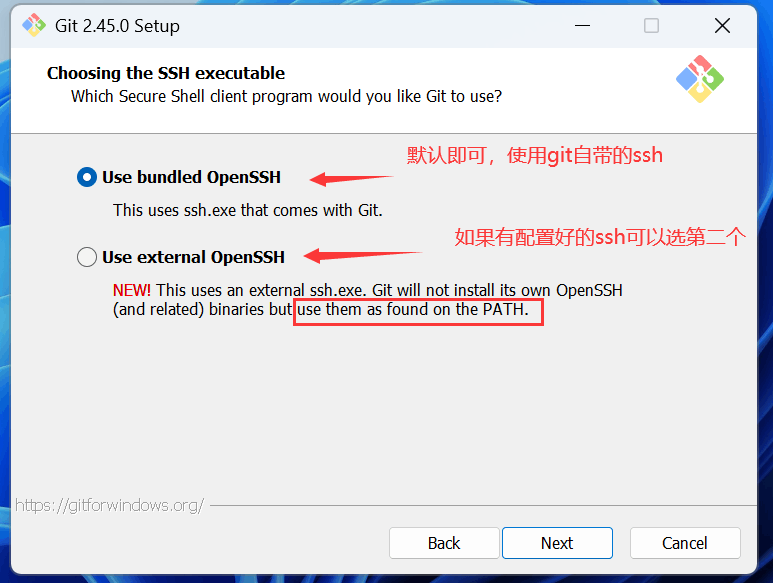
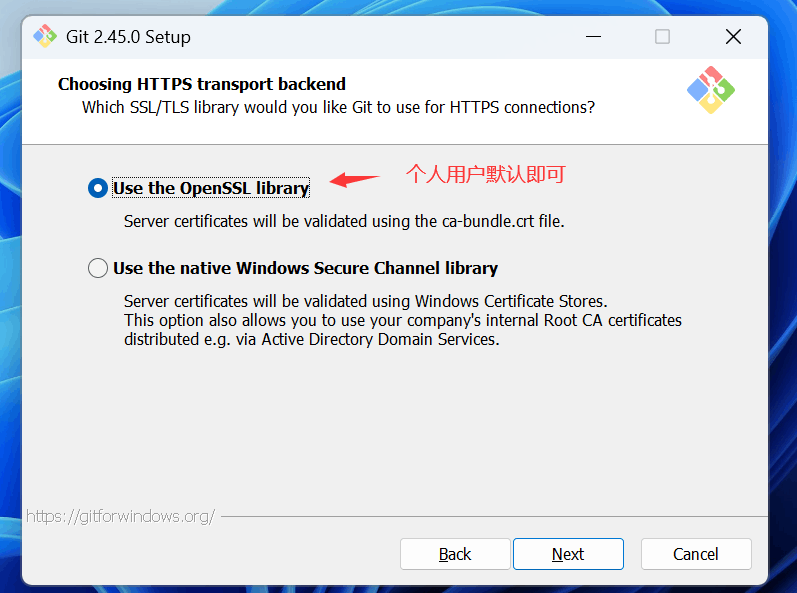
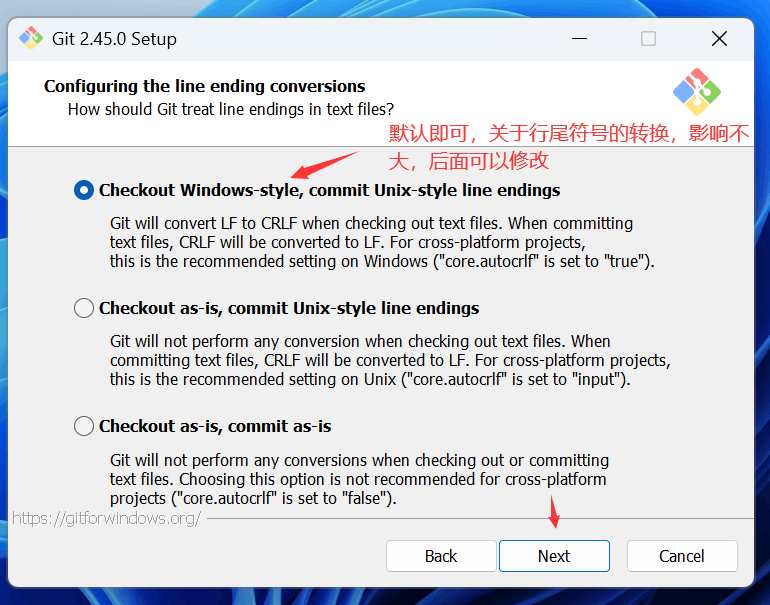

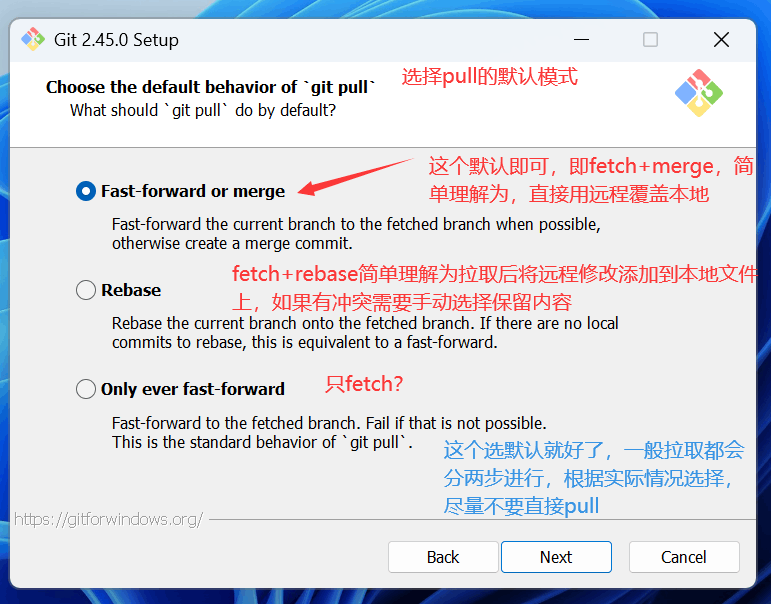
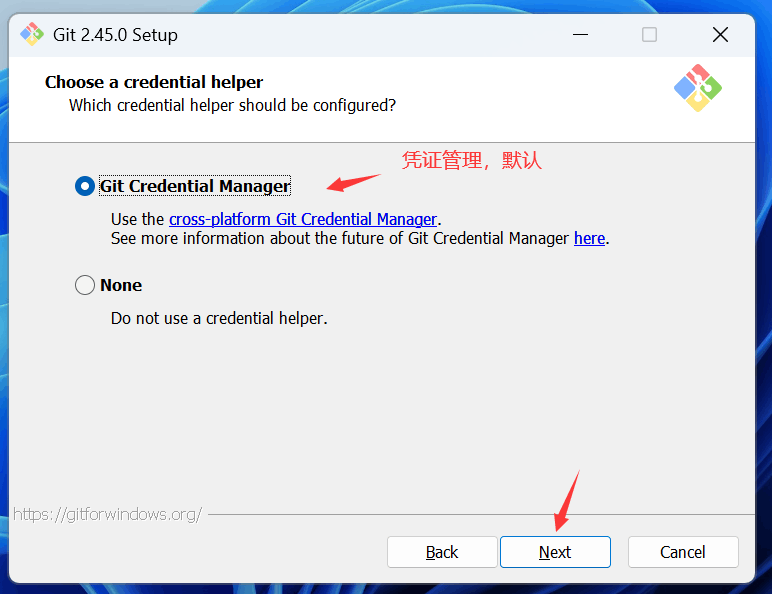
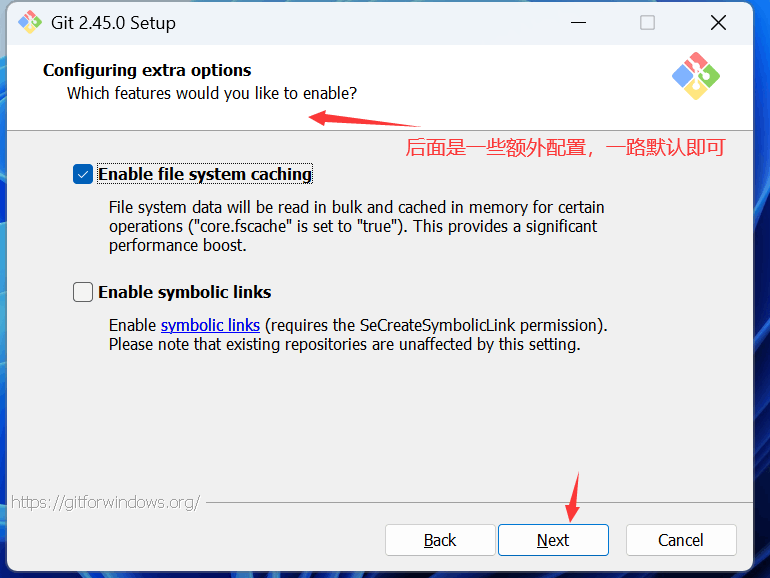
点击安装, 等待安装完成
3. 配置Git
(1). 配置用户信息
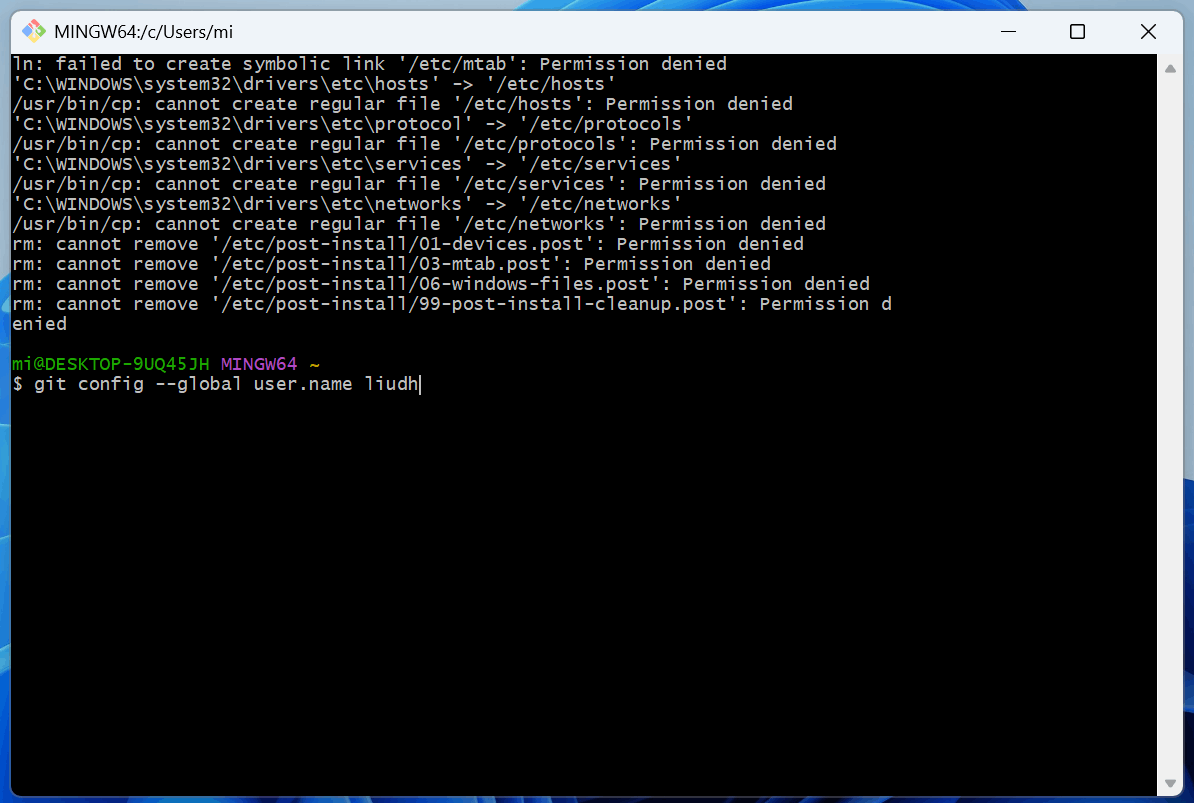
输入以下命令配置用户信息, 修改成自己的信息
1 | git config --global user.name "liudh" |
可以使用以下命令查看配置信息
1 | git config user.name |
(2). 设置代理(需自备代理)
在向Github推送时, 经常会遇到443等连接问题, 即时自己打开了代理软件依旧不能成功上传. 这是因为Git没有配置代理
使用以下命令查看代理配置
1 | git config --global --get http.proxy |
如果没有内容说明没有代理
下面使用以下命令配置代理
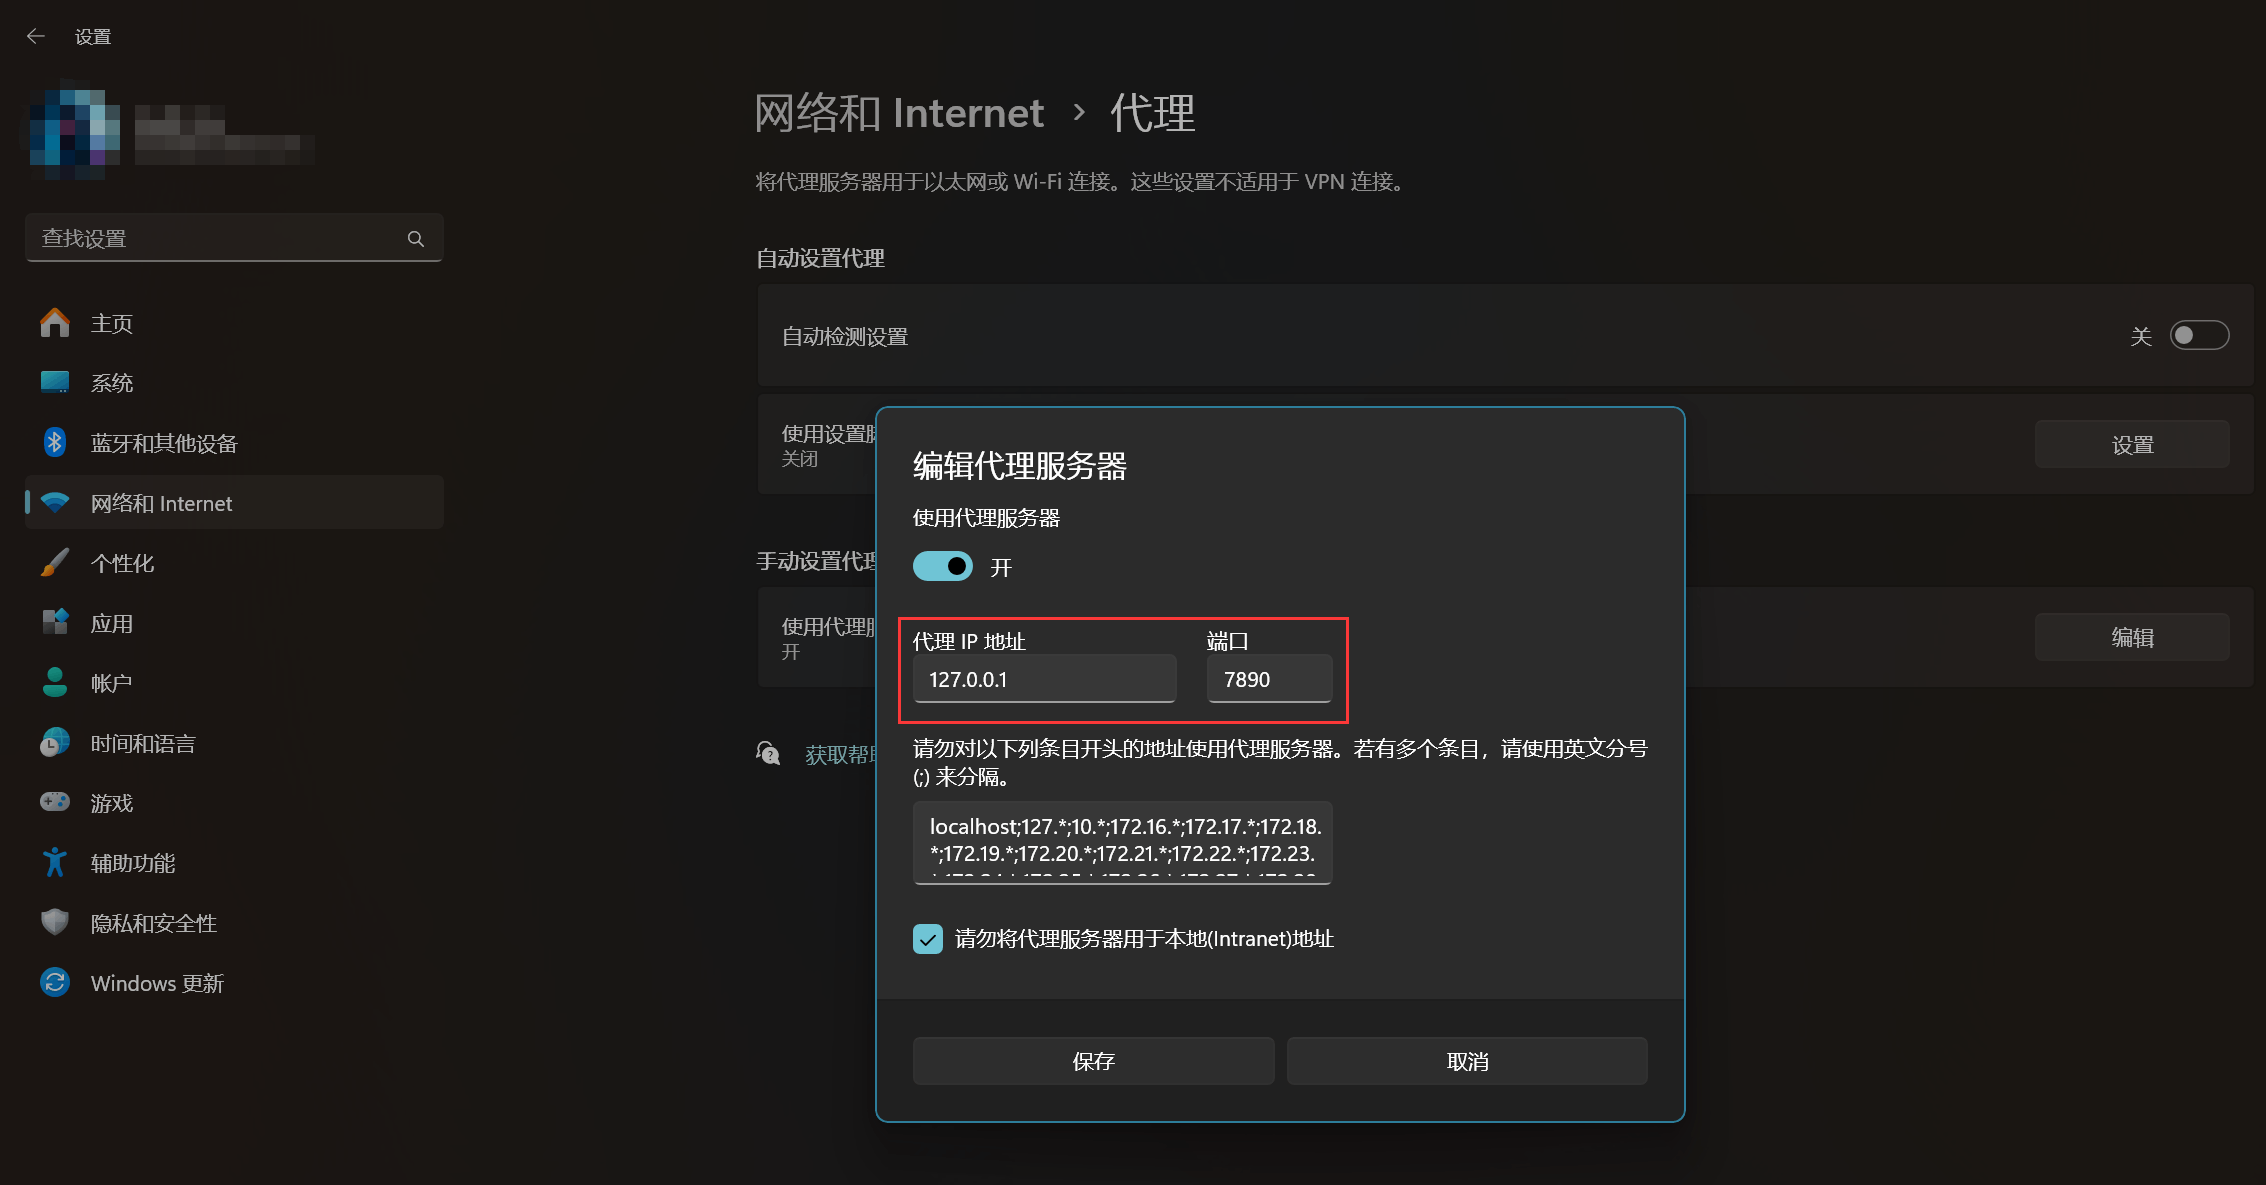
1 | git config --global http.proxy 127.0.0.1:7890 |
具体地址和端口在系统代理的位置查看
如果不想使用代理, 使用以下命令取消
1 | git config --global --unset http.proxy |
至此, 就可以愉快地开始使用Git了
本博客所有文章除特别声明外,均采用 CC BY-NC-SA 4.0 许可协议。转载请注明来自 Firefly Blog | 萤火虫博客!
 wechat
 zanshang
 alipay
相关推荐


评论